This post contains affiliate links for your convenience. Read our Disclosure Policy for more information.
Supplies:
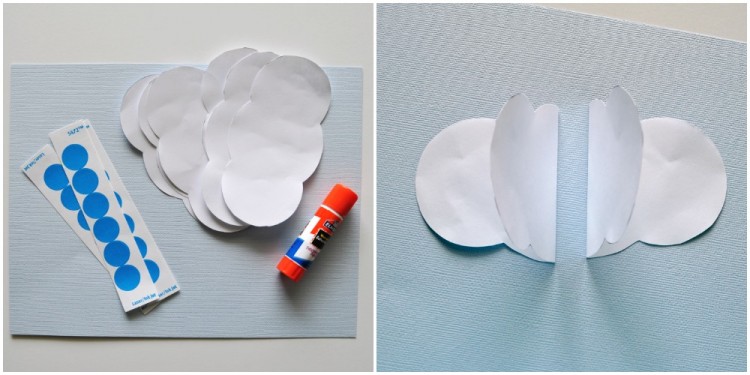
Rain Clouds Pattern (we printed ours on 28lb printer paper) light blue cardstock paper 3/4-inch round blue stickers scissors glue stick
Instructions:
1. Print template and cut out cloud pieces
Start by printing our your Rain Clouds Printable. We printed ours out on 28lb white printer paper. Cut out all the cloud pieces.
2. Fold all clouds in half and glue two pieces together
Fold all of your clouds in half. Take two pieces and face them opposite each other (see picture below). Add some glue to one side and glue the two pieces together.
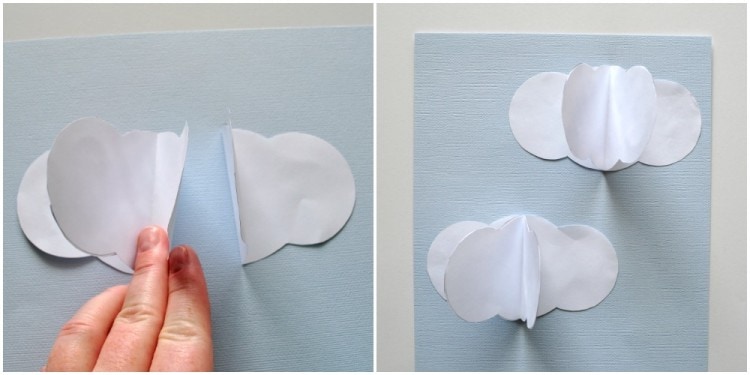
3. Glue 3 halves for each 3D cloud
Glue on one more cloud piece to the one you just connected. Each cloud uses 3 of the cloud pieces. So after connecting all of them you end up with two clouds.
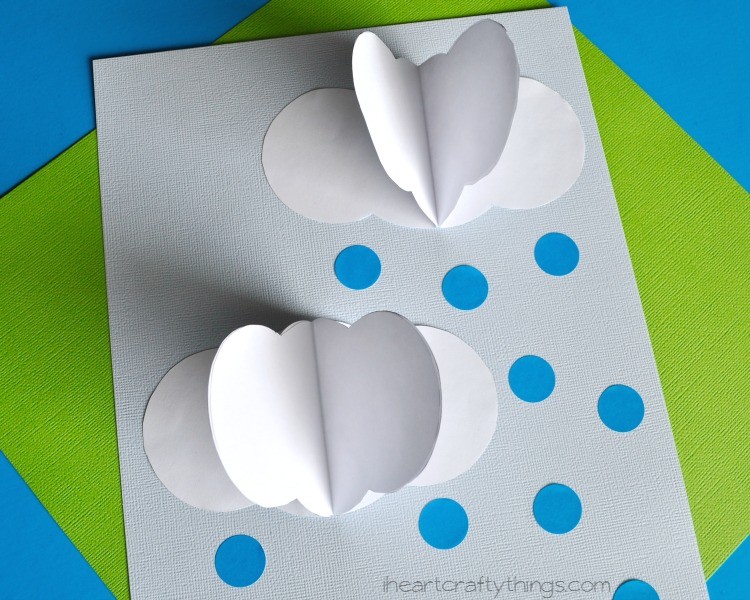
4. Glue clouds onto cardstock paper
Glue both clouds onto your light blue cardstock paper.
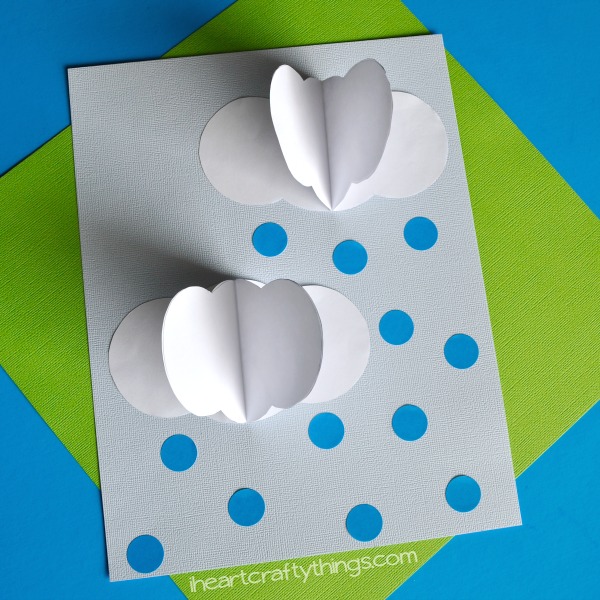
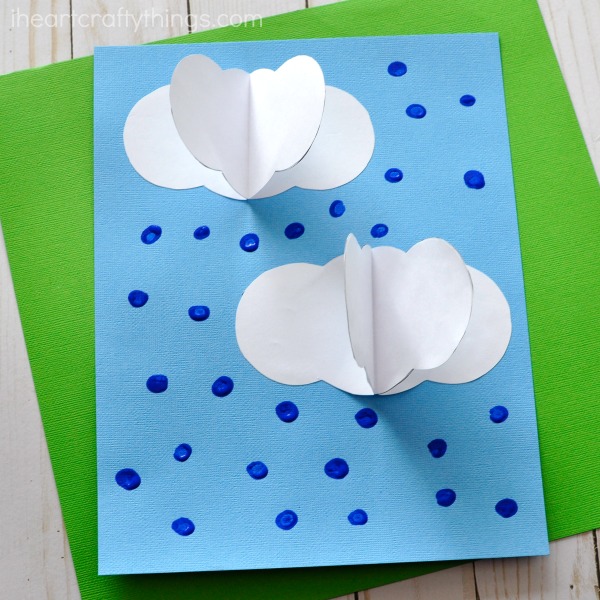
5. Add rain drops stickers
Finish your rain clouds picture by adding your blue round stickers at the bottom of the clouds to act as rain drops.
As an alternative to the blue stickers you could make fingerprint rain drops with blue paint. See how we did this below.