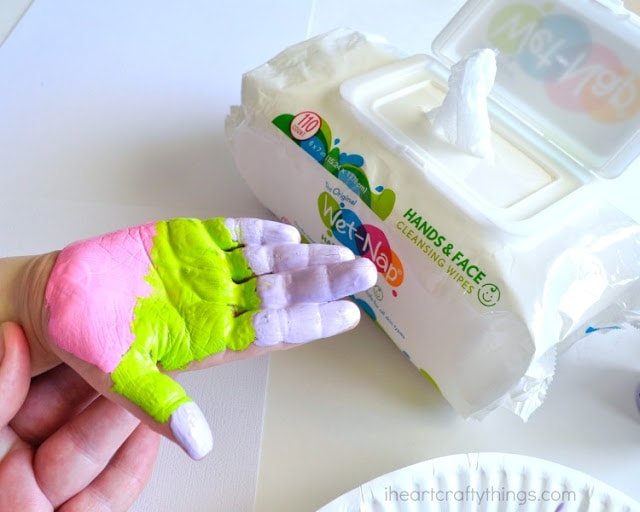
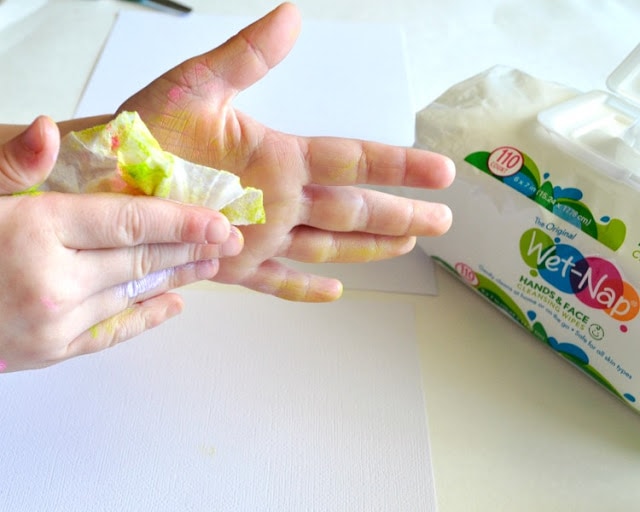
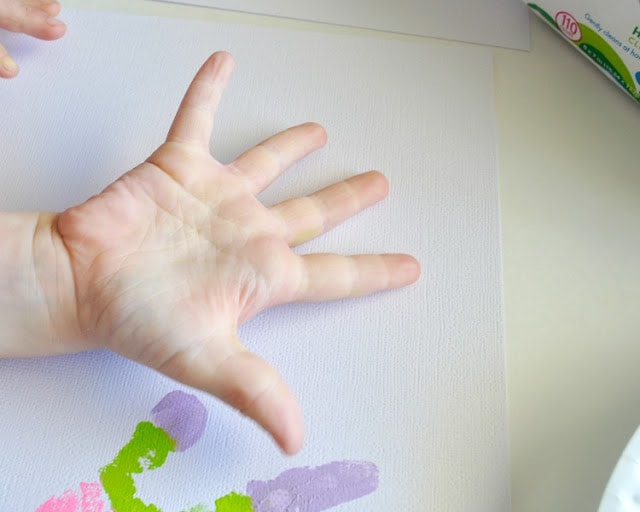
4. Re-apply paint
Now, apply paint to your child’s other hand and have them make two handprints with it just like you did the other hand. When finished use another wipe to remove the paint and set your handprints aside to dry. Now look…hands are all clean! The best part is we didn’t have to get paint all over the sink or get paint on any walls or floor on our walk to the sink. So easy peasy right?! One of my favorite things about Wet-Nap® Cleansing Wipes is that they are safe on both the hands and face. My kids have sensitive skin and are prone to eczema so I love that they are gentle on the skin yet strong enough to deal with a super mess. They also have moisturizing with aloe so I don’t have to worry about them drying out my kids’ skin.
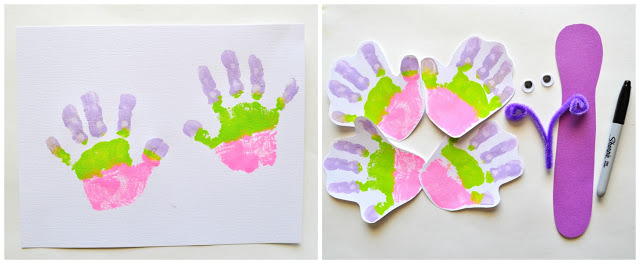
5. Cut out handprints and body
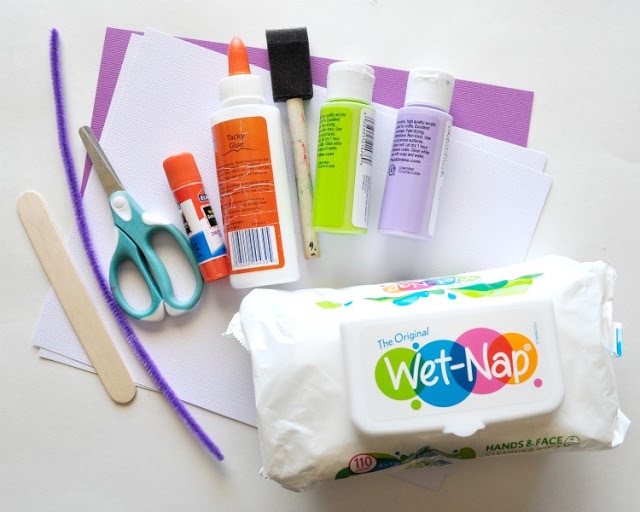
When your handprints have finished drying, cut them out. You will also need to cut a butterfly body out of your colored cardstock paper.
6. Make wings out of handprints
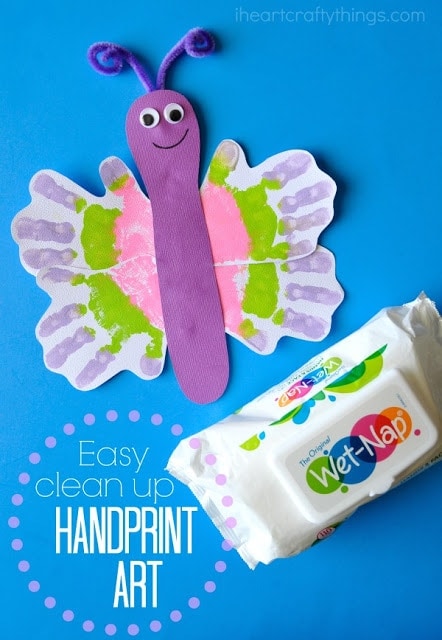
Glue your handprints to the sides of your butterfly body to make wings.
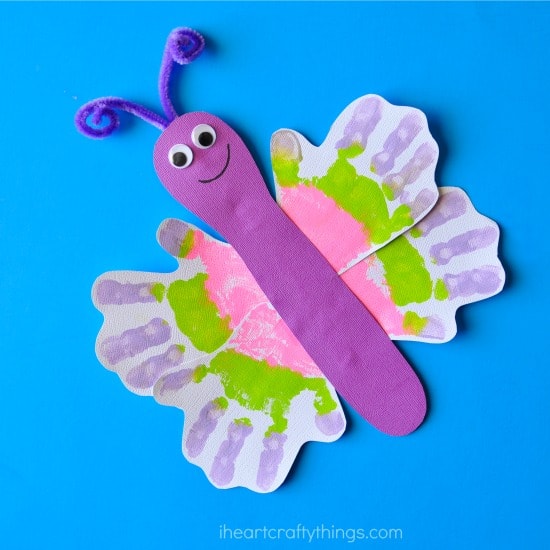
7. Glue antennae
Bend your pipe cleaner in half and curl the ends to make an antennae. Glue it to the back of your butterfly. (We added some tape on it to help secure it in place.)
8. Add eyes and draw a smile
Finish your handprint butterfly by gluing on your googly eyes and drawing a cute little smile with your black marker. Optional: My daughter loves to play with her crafts so to add some extra stability, we glued a jumbo craft stick on the back of the butterfly. This step is completely optional.