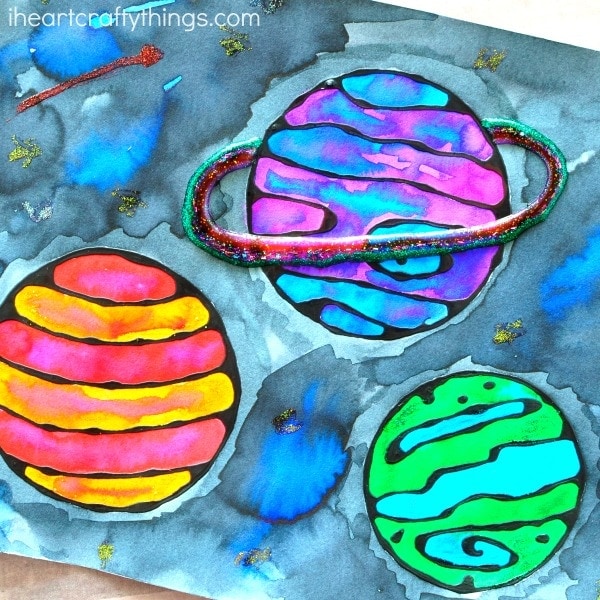
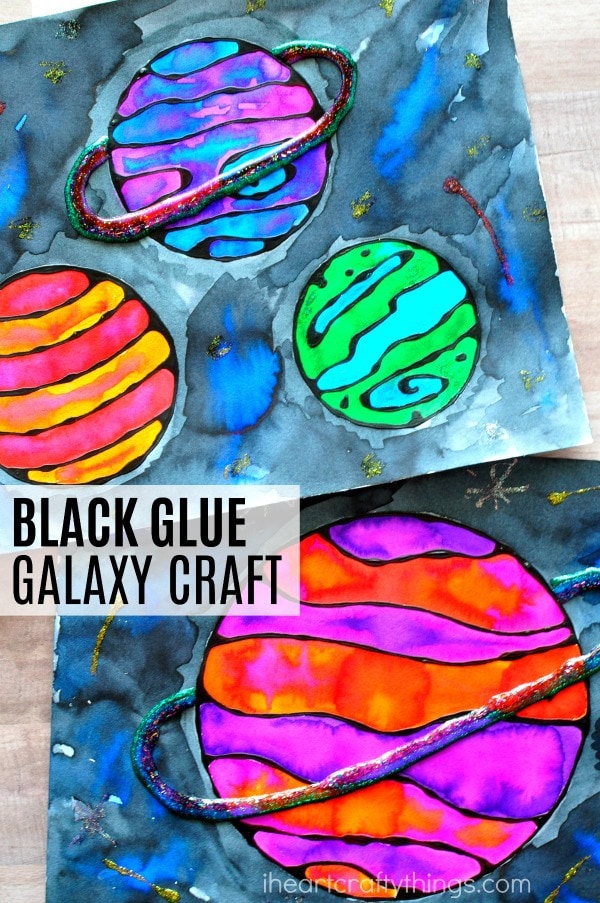
This black glue galaxy craft is not only a gorgeous art project but it will keep kids busy and happy for hours. After making it they might even want to create some of our other black glue crafts like our pretty butterfly.
Supplies Needed:
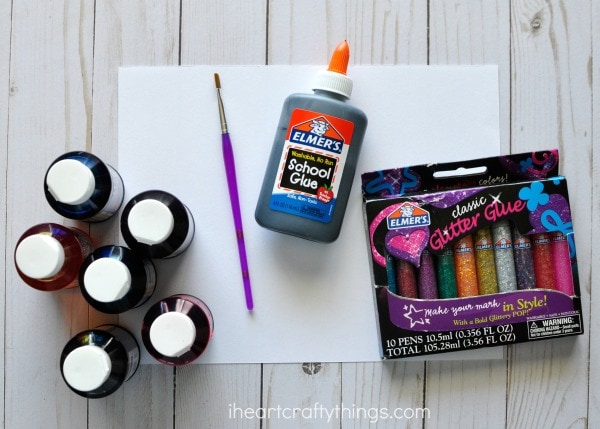
galaxy craft template <—–Download the Galaxy Craft Template here! School Glue black acrylic paint mixed media paper skewer or stick for stirring watercolors Glitter Glue
Instructions:
1. Make black glue
Start by mixing together your black glue. To do this, use a bottle of Elmer’s School Glue that is about 75% full. Open the lid and squeeze in a generous amount of black acrylic paint. Put the lid back onto the school glue and then shake, shake, shake the bottle of glue for several minutes to incorporate as much of the black paint as possible.
2. Mix the glue
Then remove the glue lid and give the mixture a stir using your skewer or stick. The end of a paintbrush works well for mixing too.
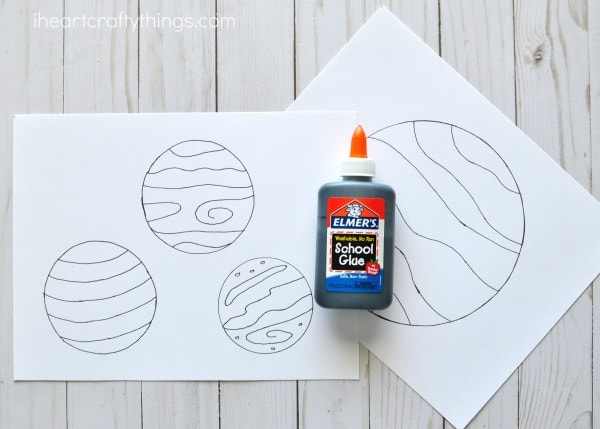
3. Print out template
Before you begin tracing the template, test out the glue first on a napkin or separate piece of paper. Create some lines to experiment with the flow and spread of glue. Once you’re happy with the way the glue flows, download the galaxy template and print out whichever galaxy picture you’d like to use on your mixed media paper.
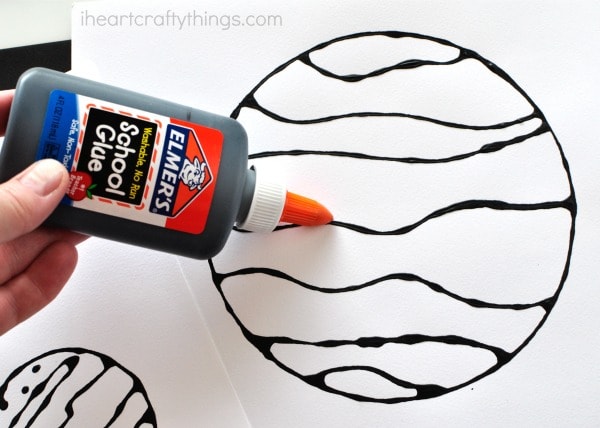
4. Trace your painting
Using a steady hand, trace the lines of the black glue galaxy craft with black glue. Don’t worry if the lines are not perfect or the glue pools a little, as this adds to the overall affect of the piece.
5. Let it dry
Leave the black glue to dry overnight. This step is important because if you paint your picture prior to the black glue drying your watercolors will mix with the black paint.
6. Paint with watercolours
Once the black glue is completely dry, paint your picture with your watercolors.
7. Use your imagination
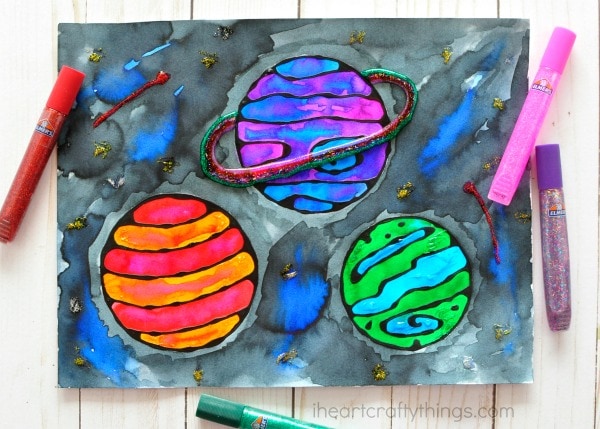
Have fun playing around with the watercolors when you paint your galaxy. I love to outline sections with one color and then color in the middle with a different color. I did this when painting the different sections of the planets as you can see in the above picture. To achieve the blue and black galaxy look around the planets, add a hefty stripe of blue watercolors on your paper. Then immediately use black watercolors to paint around the blue stripe. Allow the black to mix around the outline of the blue slightly so you don’t have a harsh edge.
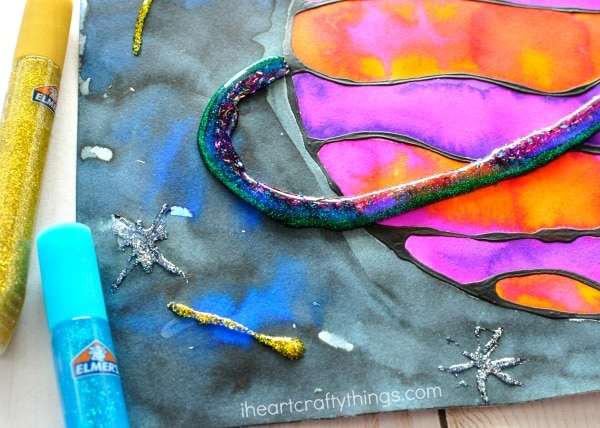
8. Add glitters
After allowing the watercolors to dry, grab your Elmer’s Glitter Glue Pens. Use the different glitter glue pen colors to add details to your black glue galaxy craft such as a ring around your planet, extra bling in sections of your planets, stars and even colorful shooting stars. I recommend layering several different colors of the glitter glue together when creating the ring around your planet as it creates a colorful galactic-looking swirl around the ring.
Your black glue galaxy craft is finished!