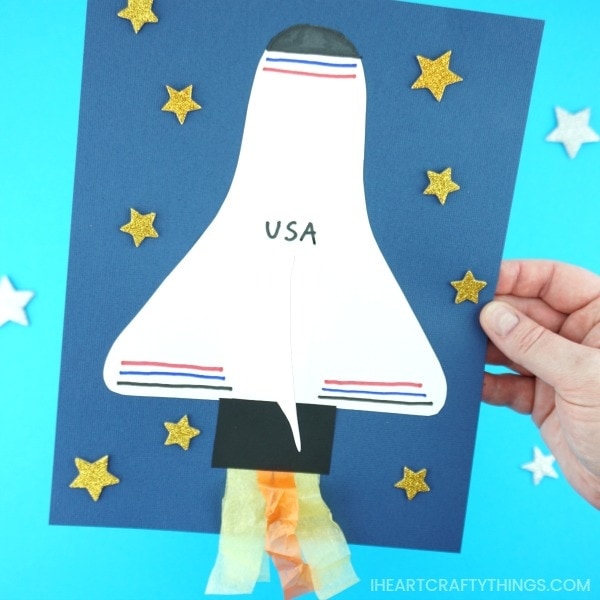
Supplies needed:
space shuttle paper craft template (printed on white cardstock or construction paper) <—- Get the template in our Shop. colored cardstock (dark blue and black) yellow and orange tissue paper star stickers glue stick scissors markers
NOTE: If you are in the EU, please visit our TpT Store to purchase any of our templates.
Tutorial:
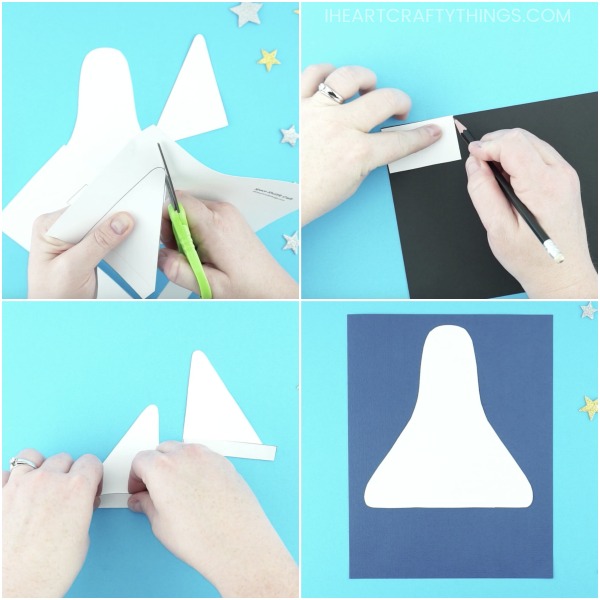
1. Cut out template pieces
Start by cutting out the pieces of the space shuttle paper craft template. Use the rectangle shape of the template to cut out a rectangle from your black cardstock or construction paper (or you can color the rectangle black with crayons).
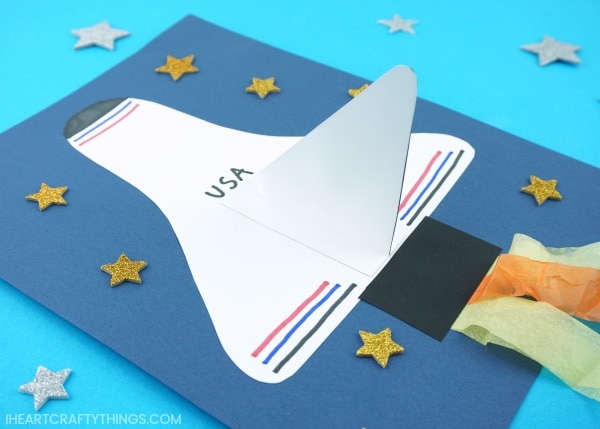
2. Fold both wings and glue together
Fold the bottom flap of both of the wings up along the dotted line. Align the two wings and glue them together with the flaps on the outside of the wings.
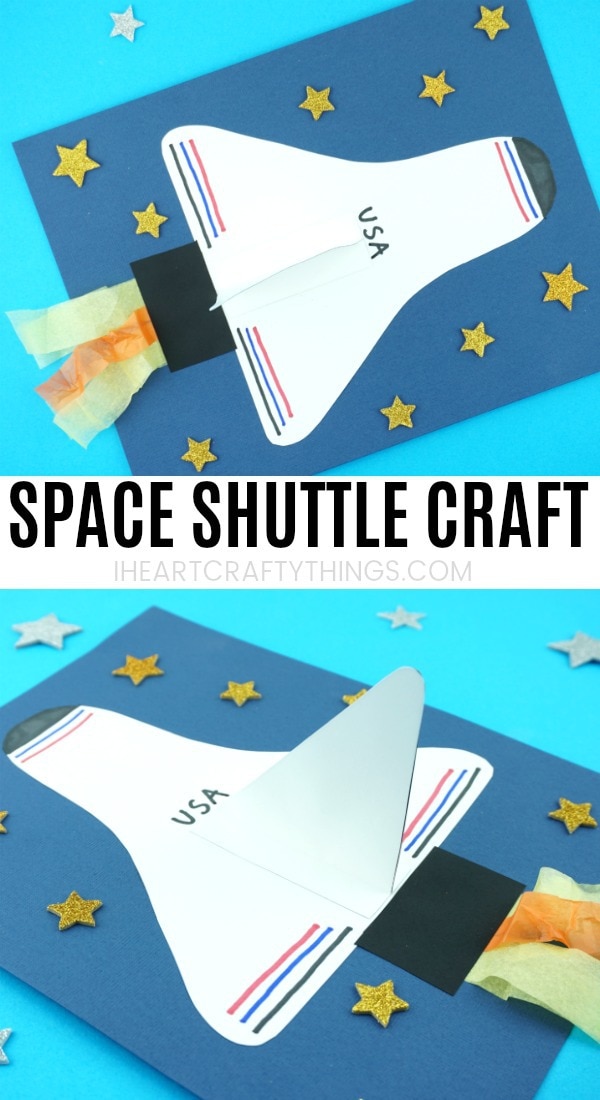
3. Glue space shuttle to cardstock
Glue the space shuttle onto the top of your dark blue cardstock or construction paper.
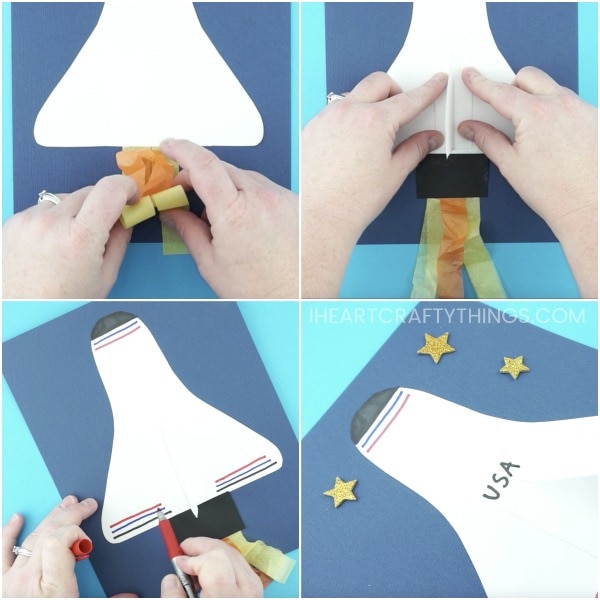
4. Glue tissue paper on space shuttle
Cut out small strips of yellow and orange tissue paper and glue them at the bottom of your space shuttle.
5. Add rectangle shape to the bottom
Glue the black rectangle at the bottom of the space shuttle. Then add glue to the bottom of the flaps on the wings and glue the wing at the bottom of the space shuttle.
6. Decorate shuttle
Use markers or crayons to decorate your space shuttle.
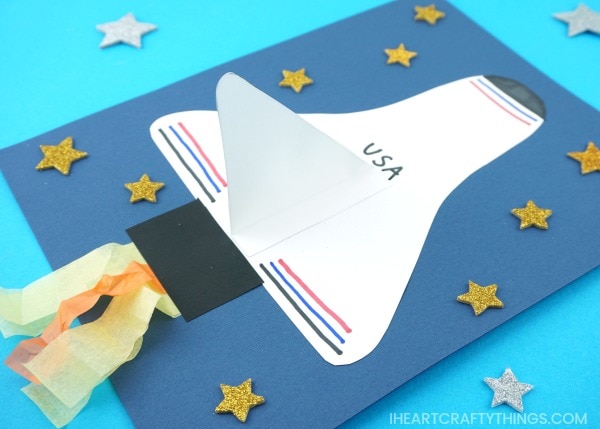
7. Glue star stickers all over
Finish your space shuttle paper craft by gluing star stickers on your dark blue paper. As an alternative you can use a white or yellow crayon to draw on stars.