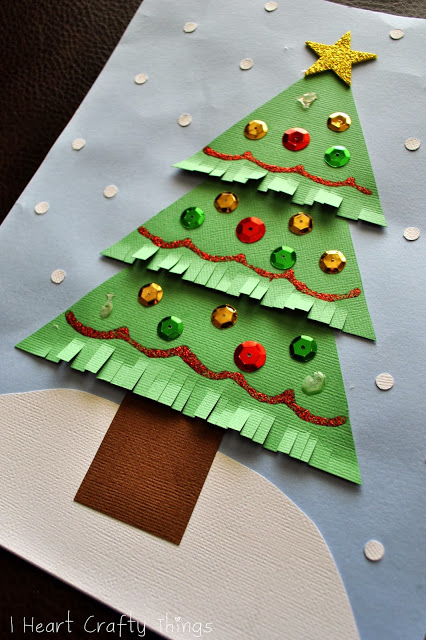
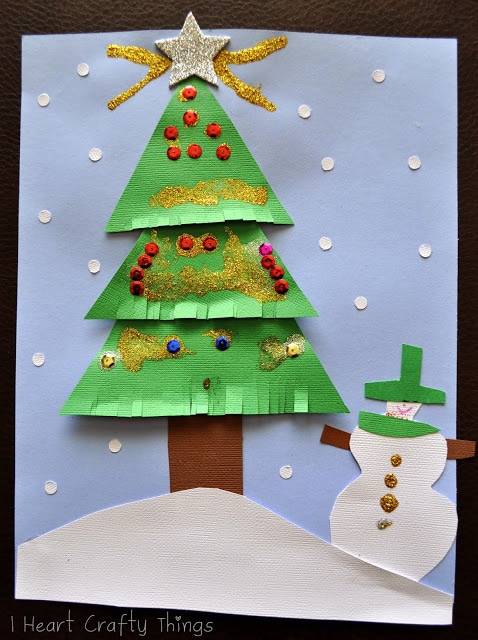
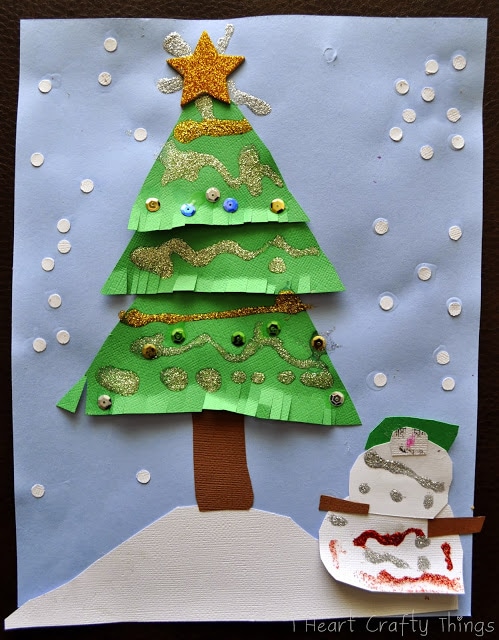
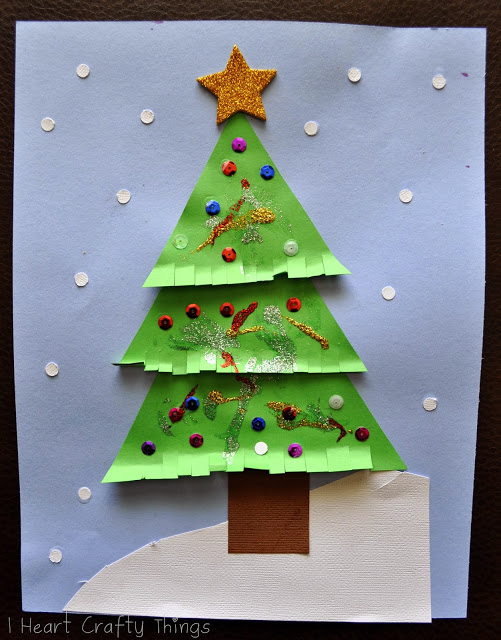
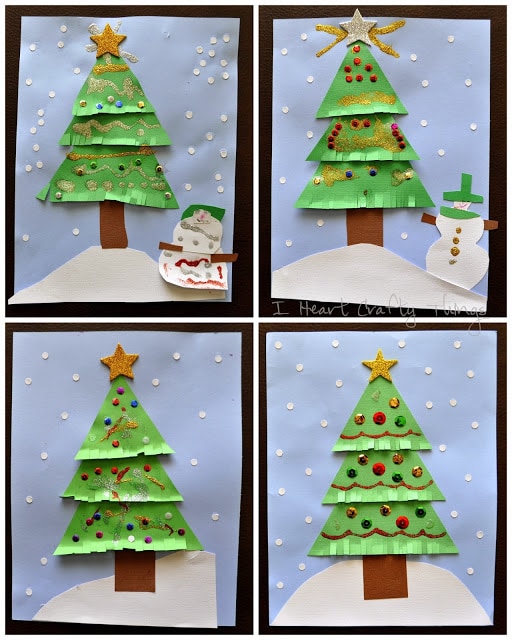
1. Cut out hill and tree trunk, glue them onto cardstock paper
Started by cutting out a snowy hill from your white cardstock paper and glue it to the bottom of your blue cardstock paper. Then cut out a brown tree trunk and glue it onto our snowy hill.
2. Print three pattern
I made a simple three triangle pattern to make our trees. You can download it HERE. I printed it out on green cardstock paper.
3. Cut out triangles and glue onto tree trunk
Cut out the triangles. Use your scissors to cut slits along the bottom of the triangles. Glue them on top of the tree trunk from large to small.
4. Decorate tree
Put your star Glitter Foam Sticker at the top of your tree. Now decorate your tree with Sparkly Glitter Glue and sequins.
5. Add snow
To finish your artwork, add snow by gluing white hole punch circles all over your paper. My boys also decided to add a snowman to their artwork with our paper scraps. They are so creative! We are putting up our Christmas tree today so it’s beginning to look a lot like Christmas around our home.