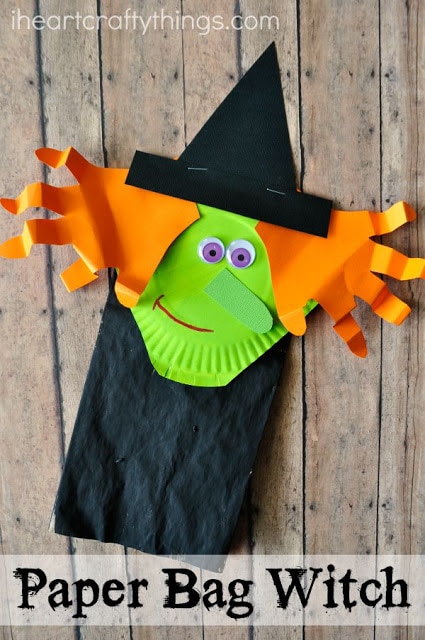
Supplies you will need:
paper lunch bag small paper plate black and green paint black, orange and green cardstock paper googly eyes red marker scissors glue stapler
Directions:
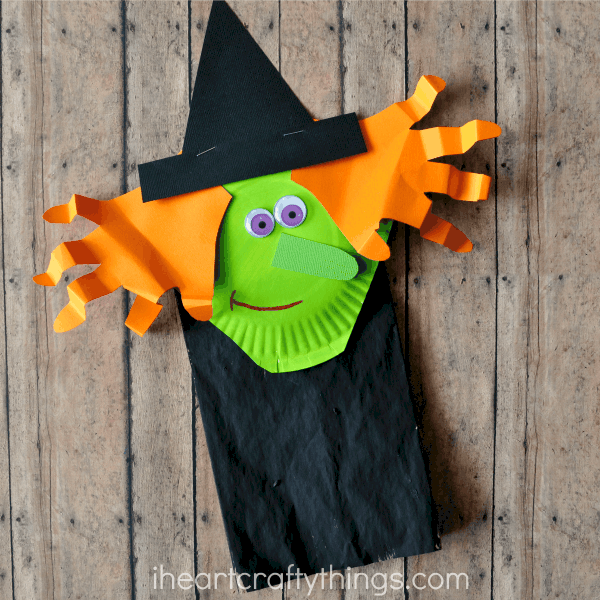
1. Paint front of paper bag and bottom of paper plate
Start by painting the front of your paper lunch bag with black paint and the bottom of your small paper plate with lime green paint. Set them aside to dry completely.
2. Create hair, nose and hat
While your paint is drying, trace your child’s hands onto your orange cardstock paper. Cut them out. You will also need to cut a nose out of your green cardstock paper and a witch hat out of your black cardstock paper. We cut a triangle and rectangle shape to make our hat.
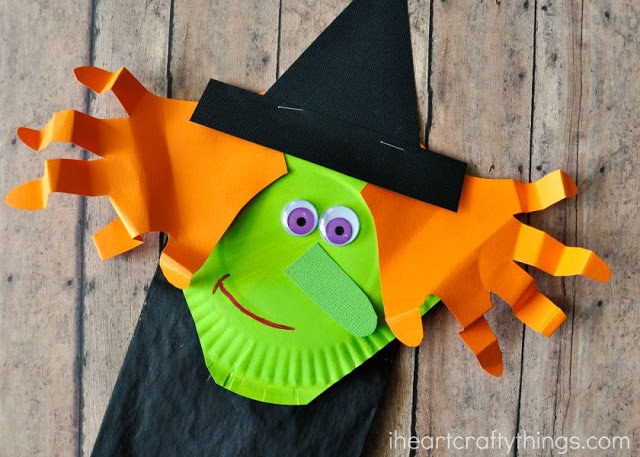
3. Cut out witch chin, staple paper plate onto bottom of paper bag
When your paper plate is dry, cut a slit out of each side of the plate to give your witch a big chin. Staple it onto the bottom of your paper bag.
4. Attach witch hair and hat
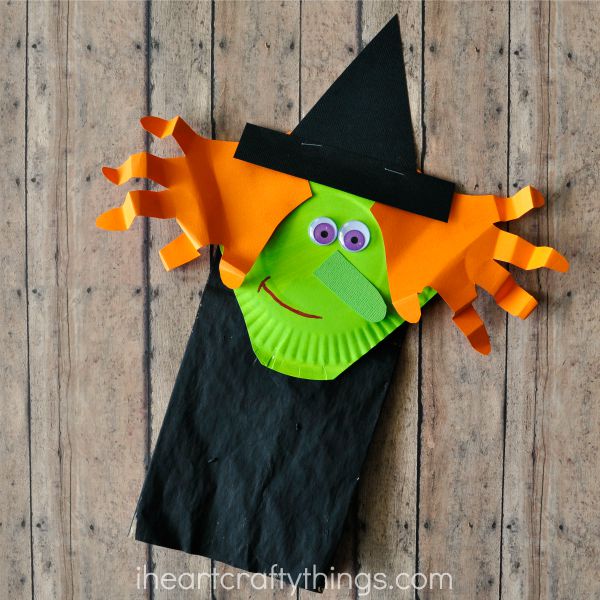
Fold the fingers of your handprints accordion style to make your witch’s hair curly. Staple each handprint onto your paper plate for the hair. Then staple your witch hat at the top of the paper plate.
5. Add eyes, nose and draw mouth
Finish your witch by gluing on your googly eyes and nose and drawing on a mouth with your red marker.