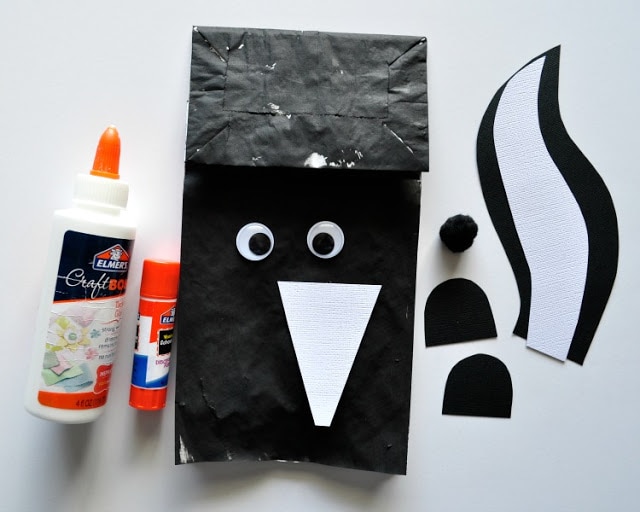
Supplies needed:
paper bag skunk pattern paper lunch bag black paint foam brush or paint brush white and black cardstock paper black pom large googly eyes scissors glue stick tacky glue
Tutorial:
1. Paint your paper bag
Paint the front of your paper bag with black paint and set it aside to dry completely. I always cut about an inch off the bottom of my paper bags prior to painting them because it’s a more ideal size for my preschooler’s arm. That is completely optional and will of course depend on the age of the children also.
2. Print & cut out pattern
Print off the paper bag skunk pattern and use it to trace the pieces you’ll need on your black and white cardstock paper. Trace the large tail and two ears on black cardstock paper and the tail stripe and face stripe on white cardstock paper. Cut the pieces out.
3. Glue white strip & ears to the bag
Assembling the skunk is super simple. Glue the white stripe on the center of the skunk’s face and the two ears on the back side of paper bag at the top.
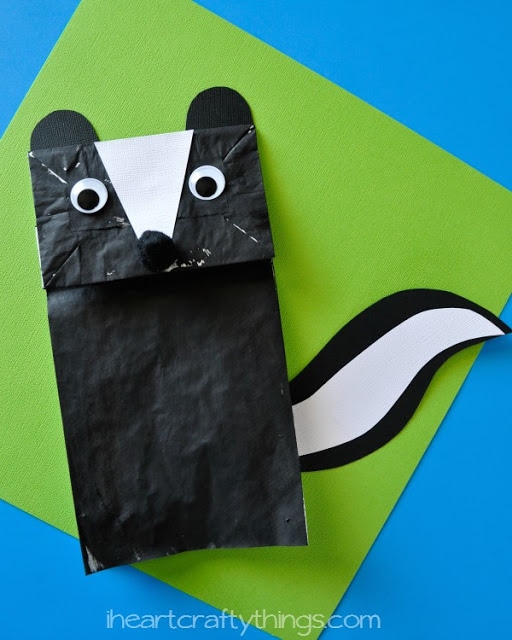
4. Attach tail to the bag
Glue the white tail stripe onto the black tail and then glue the tail onto the back of the paper bag.
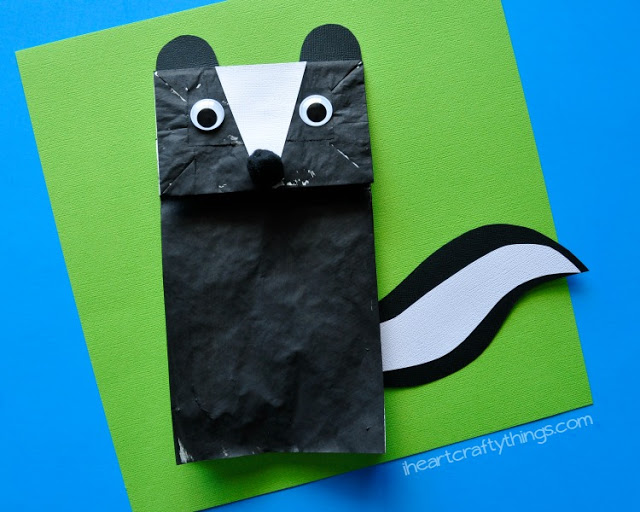
5. Glue eyes & nose
Finish your skunk by using your tacky glue to glue on two googly eyes and the black pom nose.