Supplies needed:
2 paper plates gray and pink paint gray cardstock white cardstock googly eyes black marker glue scissors
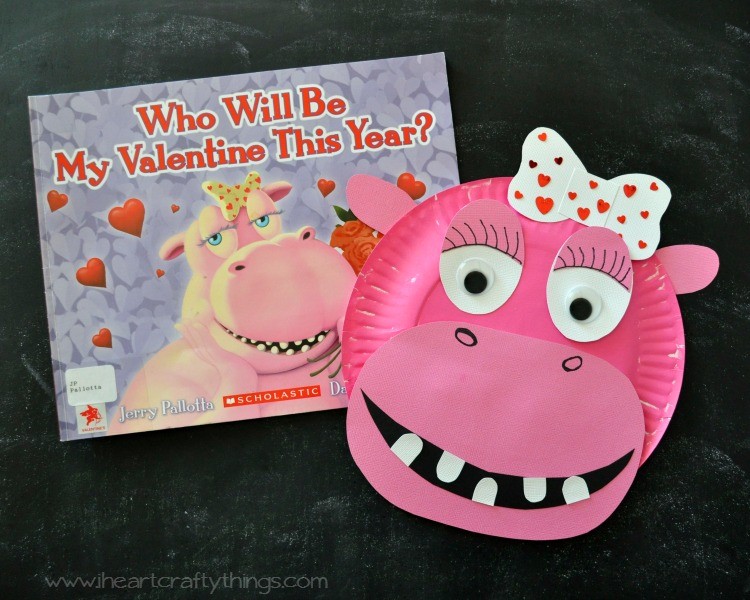
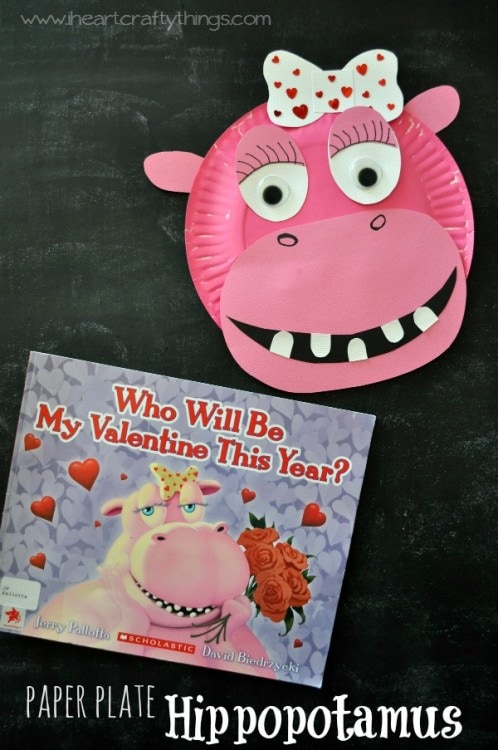
Watch the full tutorial of us making this cute paper plate hippopotamus craft before you get started.
Tutorial:
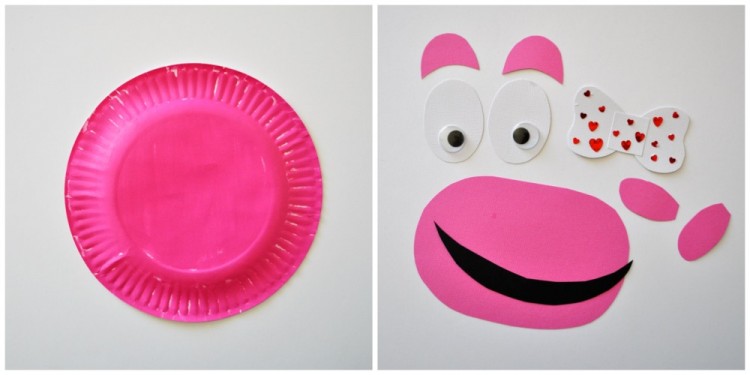
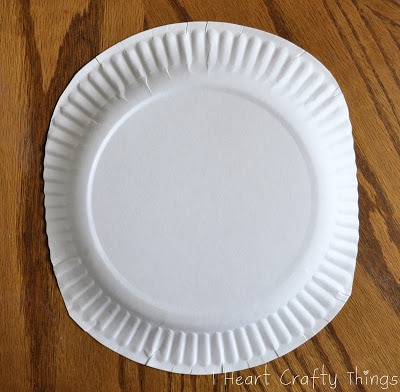
1. Cut your paper plate
Trim the sides of both of your paper plates to make each of them more of an oval shape.
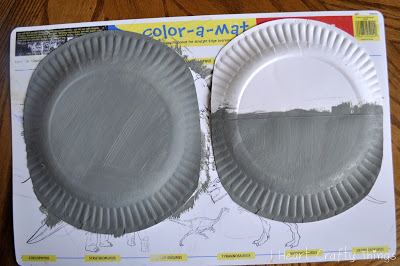
2. Paint the plates grey
Fold one of the paper plates in half. This will be the hippo mouth. Unfold that plate and paint the bottom of each plates gray. As we started painting I realized we really only needed the bottom half of the mouth paper plate painted so that’s all I painted. My daughter painted all of her plates though.
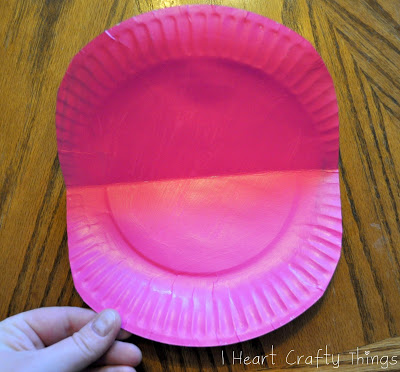
3. Paint other side pink
Once the paint is completely dry, turn the mouth paper plate over and paint it pink. Let it dry completely before moving on.
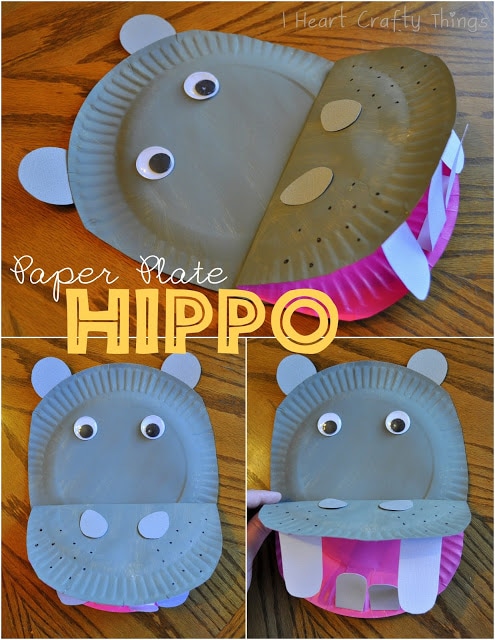
4. Glue both plates together
Next fold the mouth paper plate in half with the gray showing on top and glue it to the bottom of the face paper plate.
5. Cut out needed details
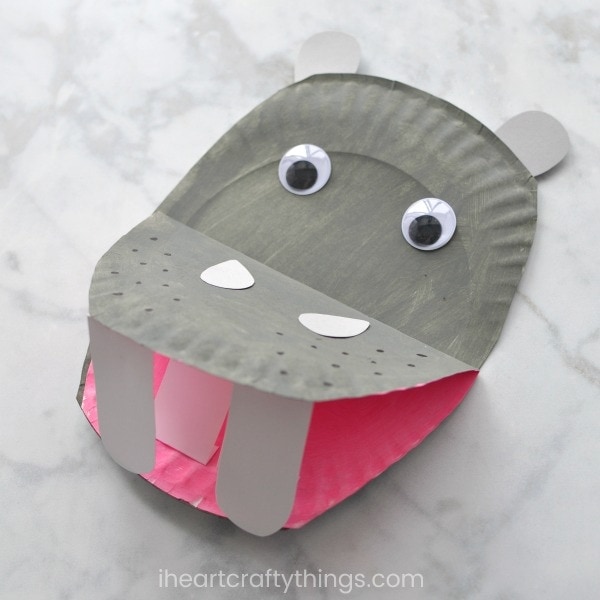
Cut two nose nostrils out of gray paper and glue them on the top of the mouth. Then cut ears out of your gray paper and glue them onto the back of the face. Next, glue large googly eyes on the hippo face.
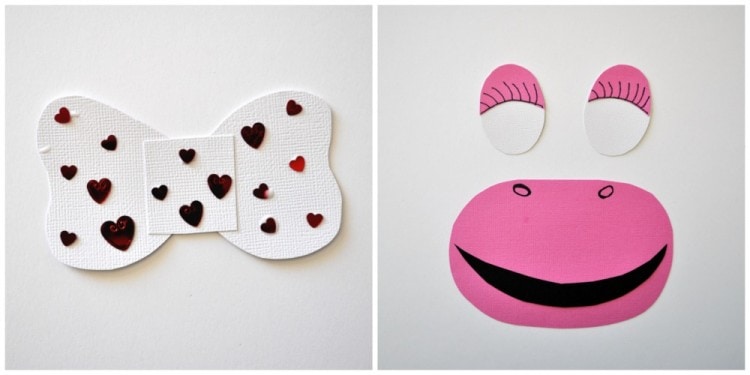
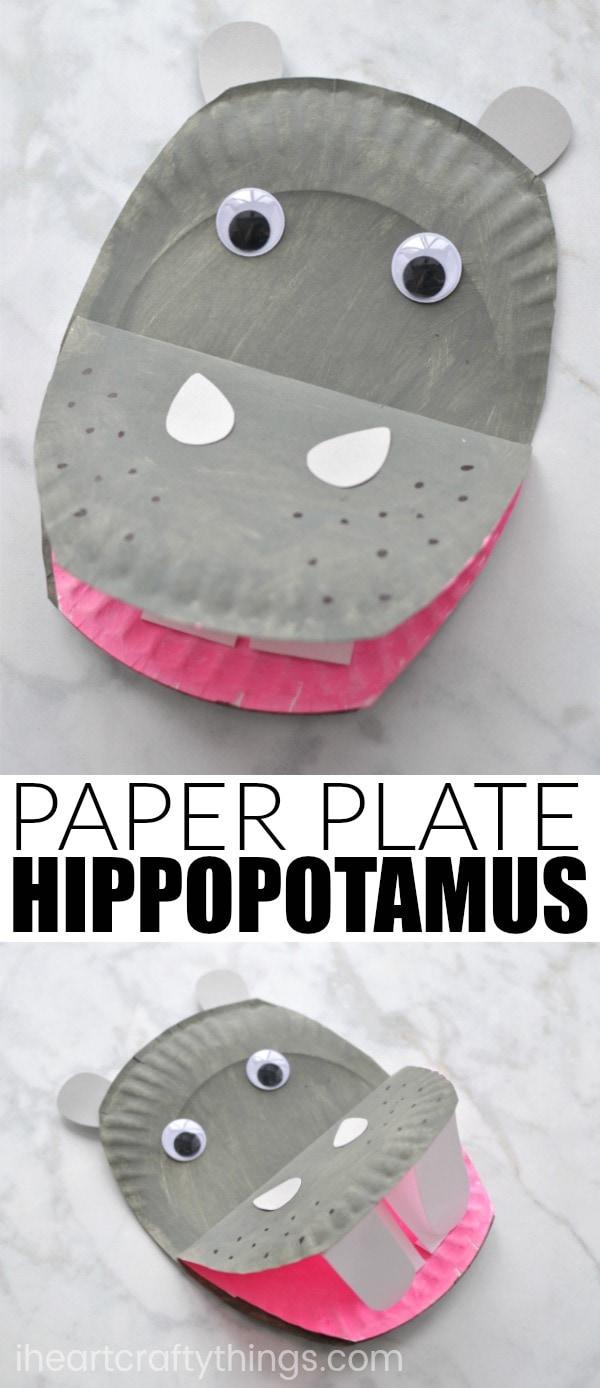
6. Draw whisker holes
Use a black marker to draw the little whisker holes on top of the hippo’s mouth. You can do this part in an earlier step, but since we were just making it up as we went, we did it last.
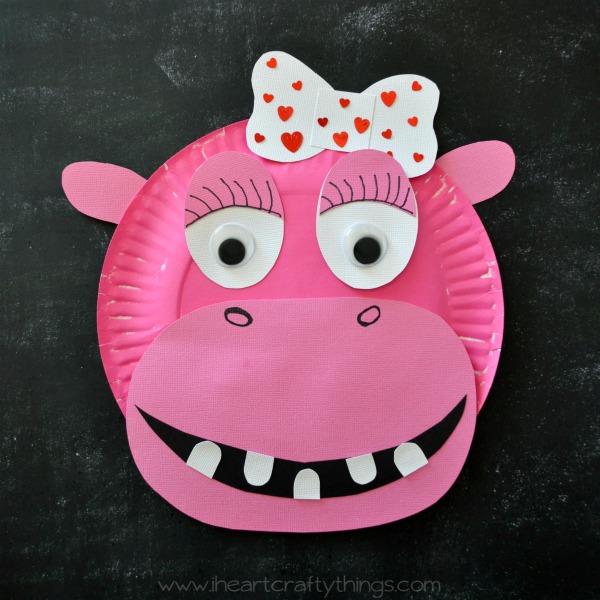
7. Make teeth
For the teeth, cut strips of white cardstock paper with one side rounded. Make a small fold at the straight end of the tooth and glue them down inside the mouth. Spread the top ones apart and put the bottom ones together so the mouth closes easier.
title: “Paper Plate Hippopotamus I Heart Crafty Things” ShowToc: true date: “2025-07-19” author: “Charlie James”