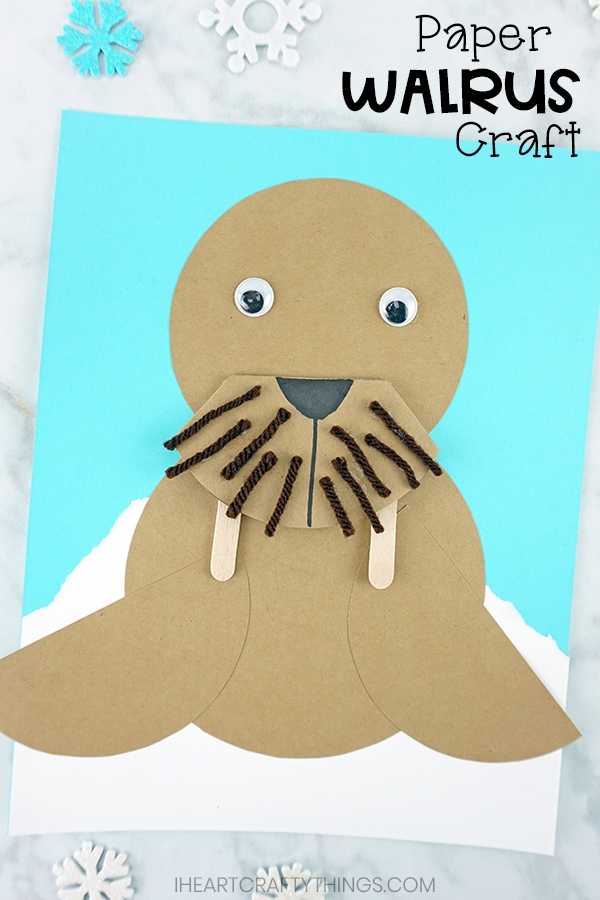
Our extremely frigid winter temperatures this week has me thinking all about the arctic and it inspired me to create this new paper walrus craft. Occasionally after I make something new I am so super excited to share it with you that I can hardly stand it. That is the case today with this awesome walrus. The added textures of the yarn whiskers and mini craft stick tusks give this winter craft some fun dimension.
In my mind I keep imagining a classroom bulletin board full of these walruses on display and the prospect of how each of them will look different displaying their own personalities makes me so giddy I can’t stand it. I hope you enjoy this fun paper walrus craft as much as I do!
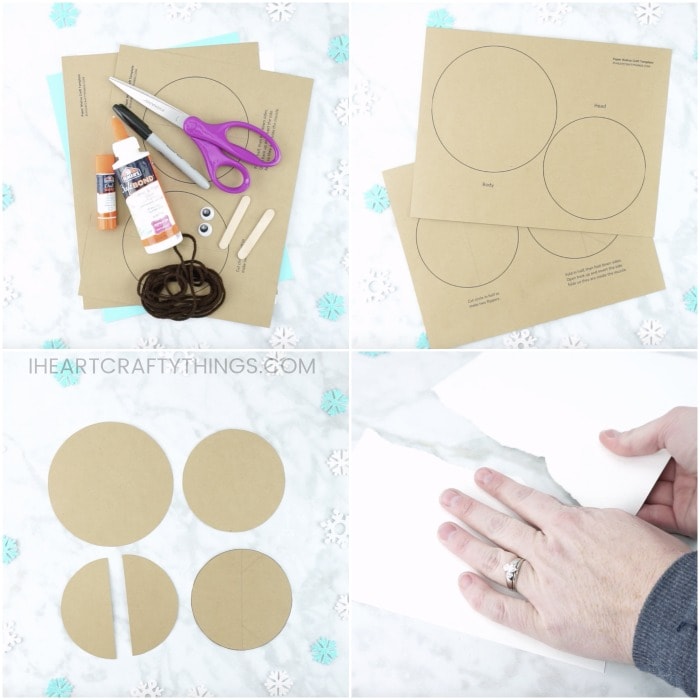
Supplies needed:
paper walrus craft template <—- GET THE TEMPLATE HERE blue, white and brown cardstock googly eyes mini craft sticks brown yarn scissors glue stick school glue
Tutorial:
1. Print & glue your template
Gather your supplies. Download and print out the paper walrus craft template on brown kraft cardstock. You can also use brown construction paper. Cut out each of the pieces of the paper walrus craft template.
2. Make snow imitation
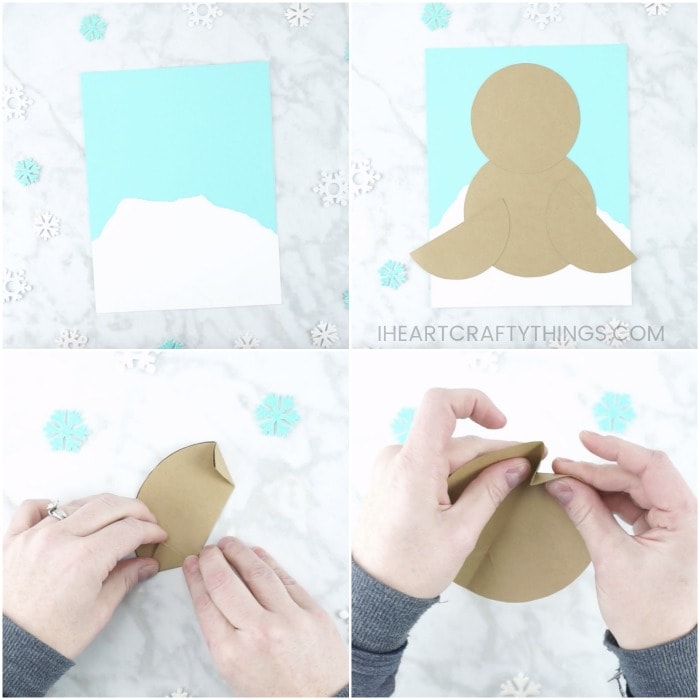
Tear along your white cardstock paper about one-third to one-half down the paper, creating a jagged edge. Glue this white section at the bottom of your blue cardstock paper.
3. Glue body shapes to the paper
Add glue to the back of your walrus body and glue it near the bottom of your paper. Then glue the walrus head on top of the body and the walrus flippers at the bottom of the walrus body.
Now it’s time to make the Walrus muzzle
4. Fold circle in half
Take the walrus muzzle section of the template. Fold the circle in half along the dashed line on the template. Then fold the two ends back along the dashed line of the template.
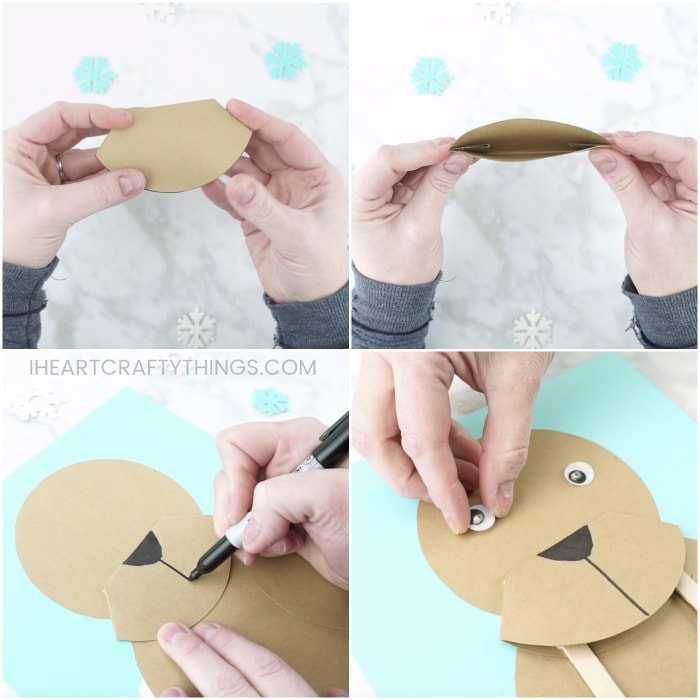
5. Make the folds inside circle
Open up the muzzle and invert the two folds on the ends so they lay inside the folded circle.
6. Glue muzzle to the walrus head
Add some glue on the inside of the folded sections of the muzzle to secure them closed. There will be an open pocket at the bottom of the muzzle. Glue the muzzle at the bottom of the walrus head on your blue cardstock paper.
7. Draw a nose
Use a black marker to color in a nose on your walrus craft. Then draw a line from the bottom of the nose to the bottom of the muzzle.
8. Add eyes
Glue googly eyes onto the face of your walrus craft.
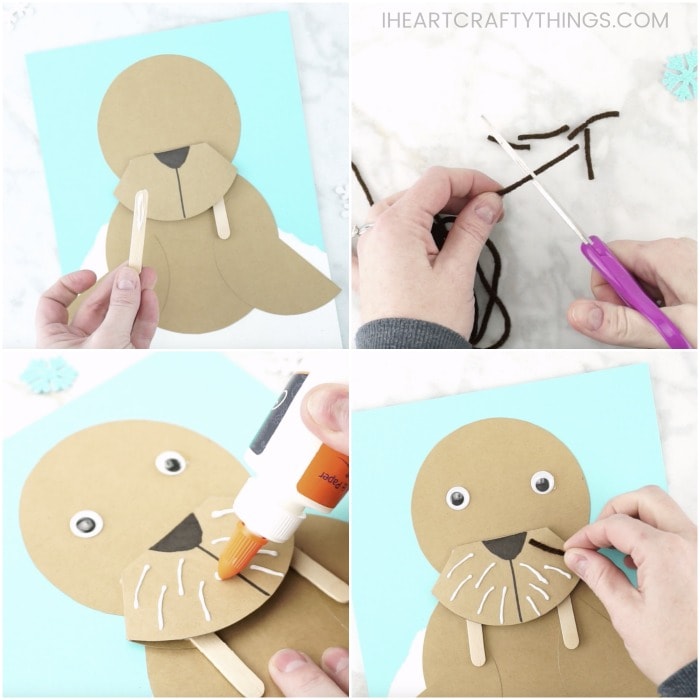
9. Glue on tusks
Add glue to the front and back top half of each of your mini craft sticks and glue them down inside the open pocket of the walrus muzzle, leaving about half of them hanging down to look like walrus tusks.
10. Glue brown yarn pieces
Cut about 10-12 small pieces of brown yarn for whiskers. Add small lines of glue on the muzzle for the whiskers. Then glue the small pieces of yarn onto the muzzle.
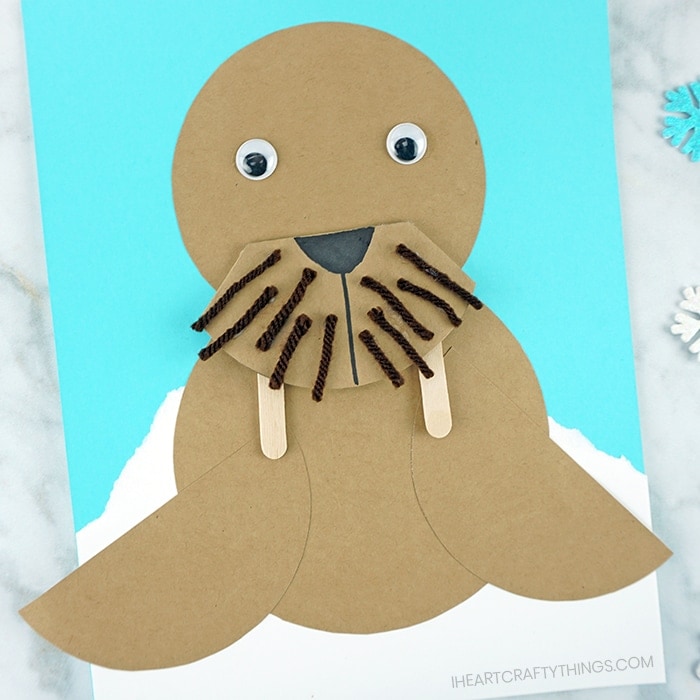
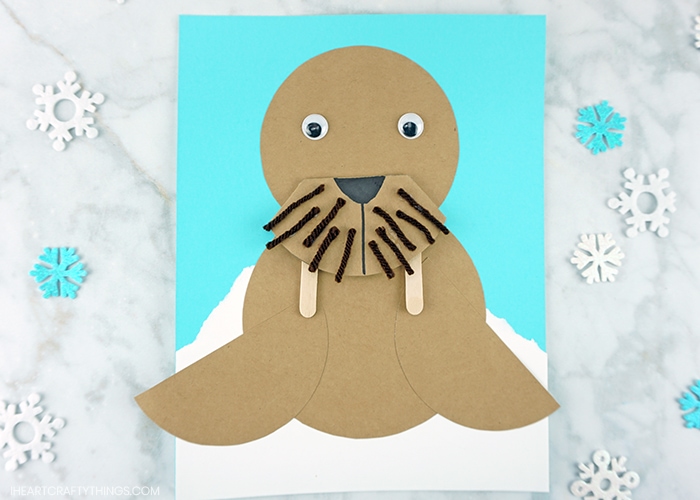
Your paper walrus craft is complete!
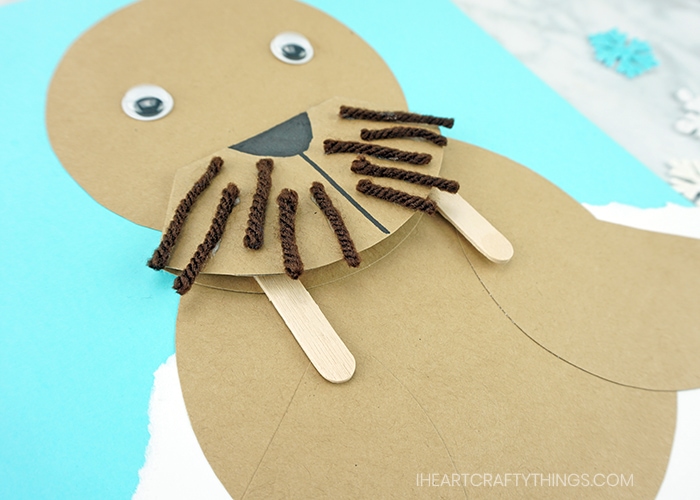
You can see in the picture below how the open pocket at the bottom of the muzzle creates a fun dimensional effect to the craft. The different textures of the whiskers and tusks gives some fun dimension to the craft as well.