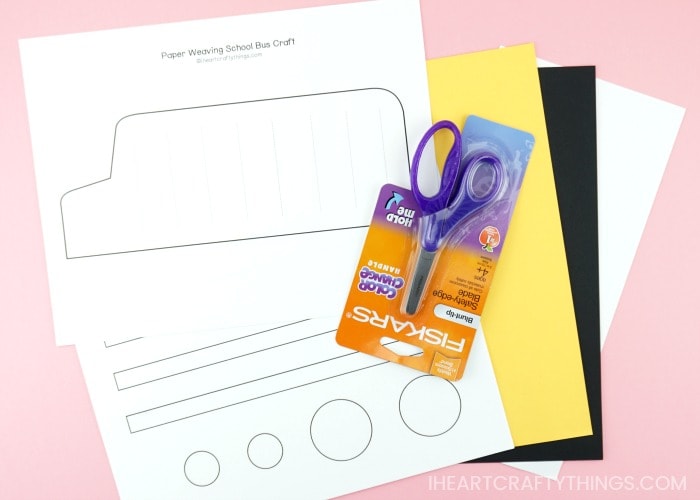
Supplies needed:
paper weaving school bus craft template yellow, black and white cardstock (or construction paper) scissors clear and red acrylic gem glue pencil
Instructions:
1. Print out template
Begin by printing out the paper weaving school bus craft template. You can print out the template in black and white for kids to color with crayons or print out the template on yellow, black and white cardstock. (Note: We’ve included some options in the template that will make it easier for teachers or parents to print individual template pieces on colored paper to reduce paper waste.)
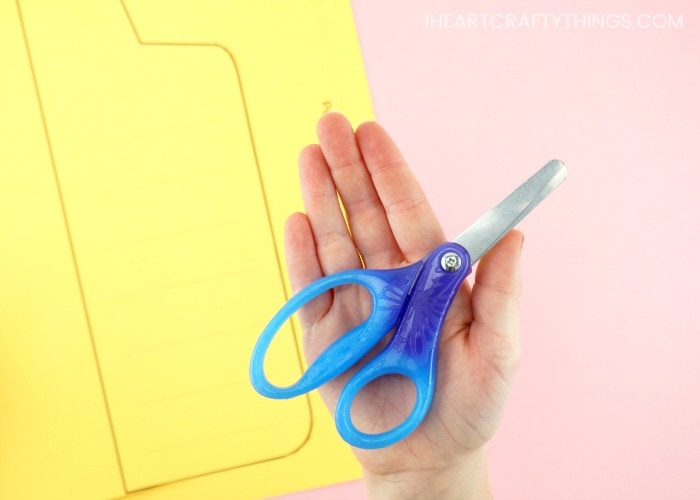
2. Cut out template
Use scissors to cut out the pieces of the school bus template.
3. Fold bus in half
After cutting out the school bus template, fold the school bus in half making sure the dotted cut lines show on the outside of the school bus.
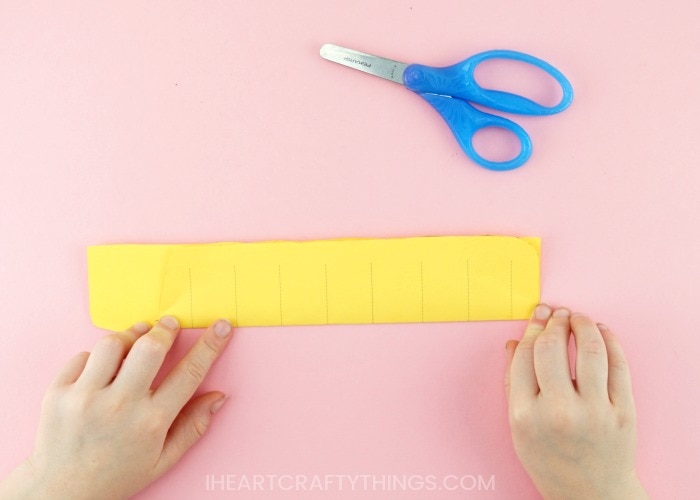
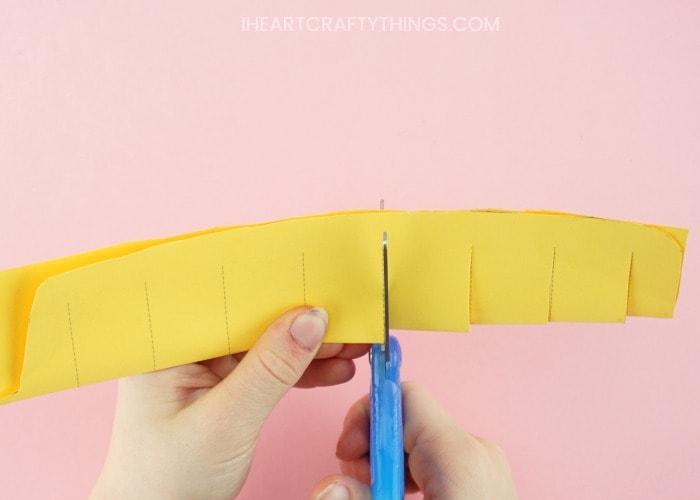
4. Cut along dotted lines
Using scissors, cut along the folded edge of the school bus along the dotted lines marked on the template. Make sure to stop at the end of the dotted line and not cut through to the end of the school bus. Unfold the paper school bus.
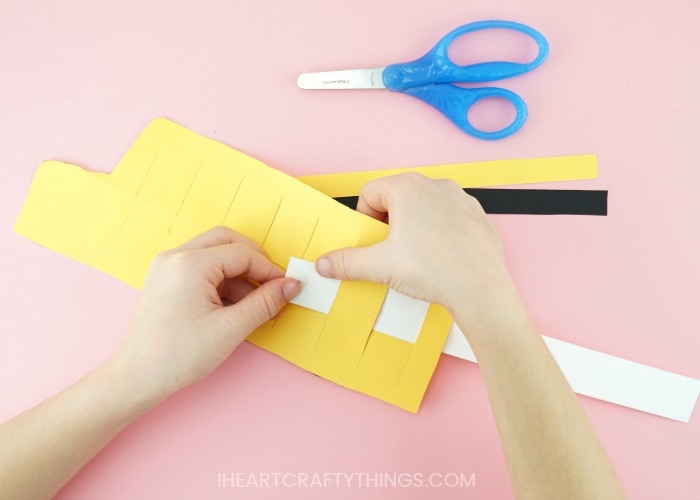
5. Begin weaving white pieces through the slots
Grab the long rectangle pieces from your template. If you are coloring the pieces with crayons, color one black, yellow and leave the largest rectangle white. Grab the biggest white rectangle and begin weaving it through the slots of the school bus. Start at the end of the school bus, weaving the white rectangle up through the first slot and then down in the next slot. Continue until the rectangle is weaved through the entire school bus.
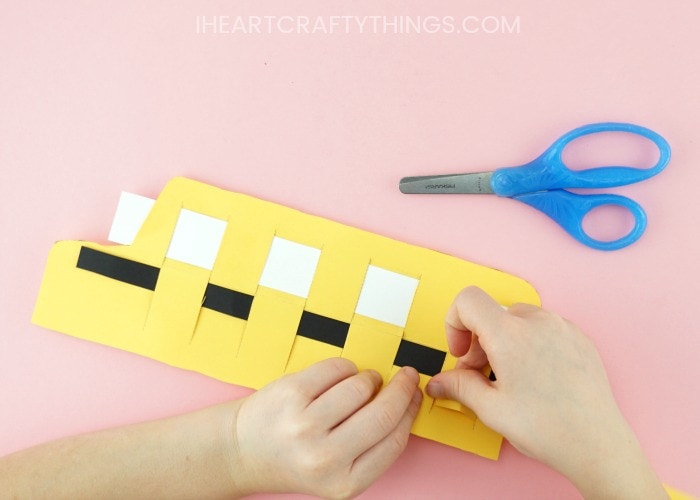
6. Do the same with black rectangle
Next grab the black rectangle and weave it through the school bus. This time start at the end of the school bus and weave the black rectangle going down into the first slot and then up into the next slot, etc.
7. And same with the remaining yellow one
Weave the yellow rectangle last through the school bus, weaving up from the last slot and then down into the next slot, continuing until it is weaved through the school bus.
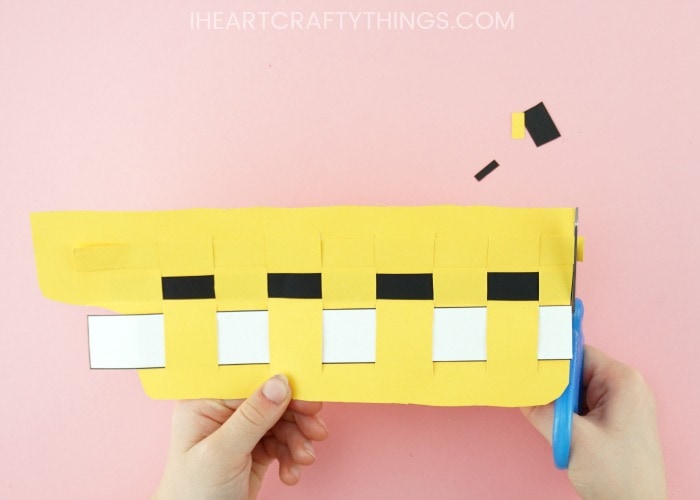
8. Cut off excess rectangles
Use your scissors to cut off any excess of the rectangles hanging off the sides of the school bus. Then use glue to glue down the ends of each of the paper strips to secure them in place.
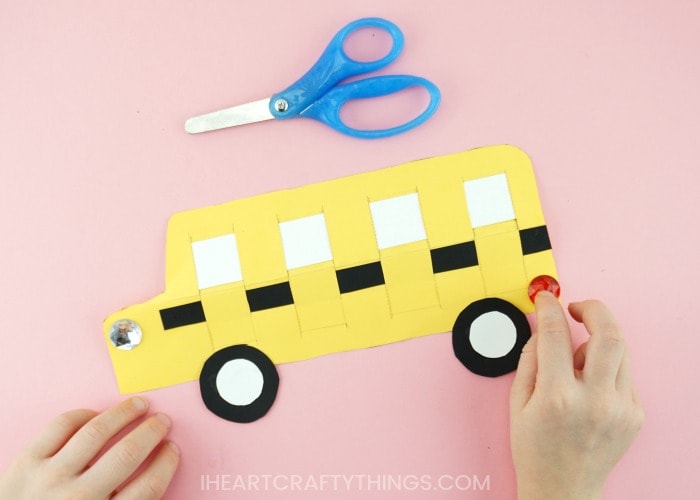
9. Add wheels & acrylic gems
Cut out the wheels from the school bus template and glue them at the bottom of your paper weaved school bus. Then glue a clear acrylic gem and a red acrylic gem onto your school bus for a headlight and break light.
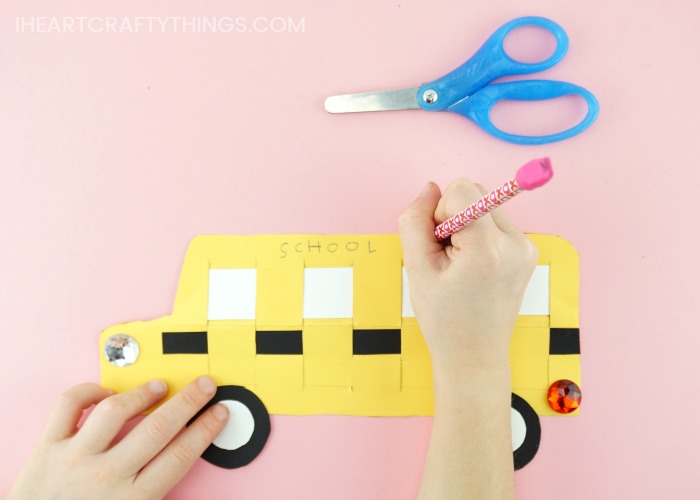
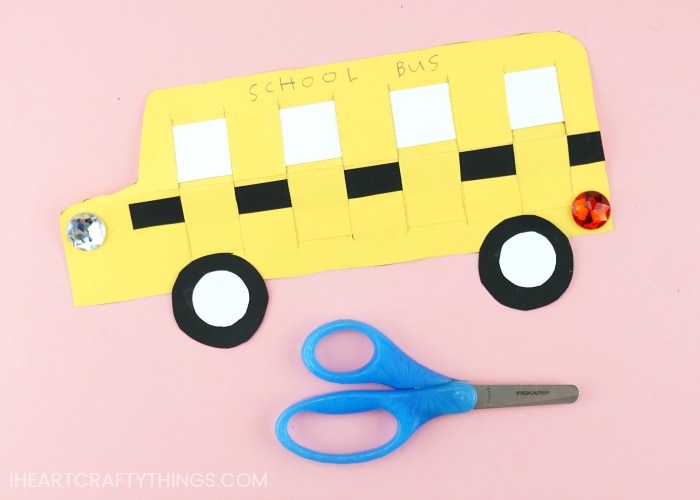
10. Write on your bus
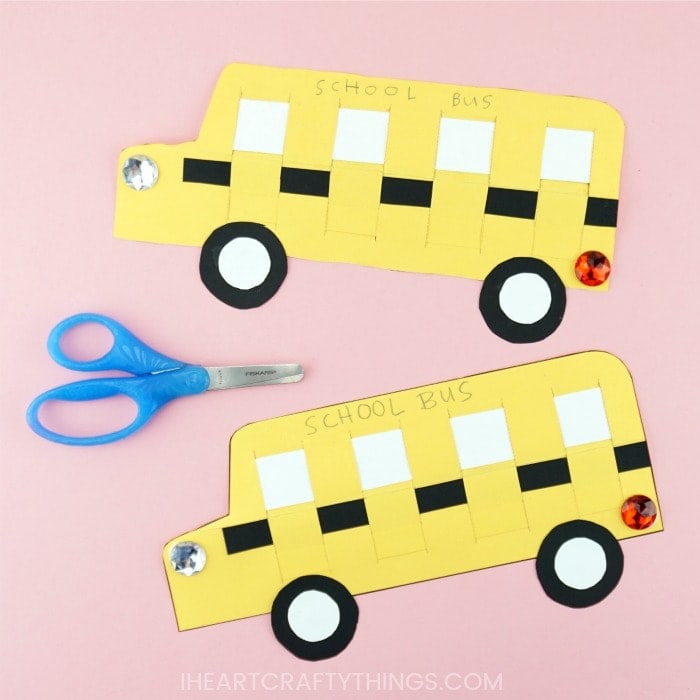
Finish your paper weaving school bus craft by writing SCHOOL BUS at the top of your craft. You could also personalize it by writing the school year or grade you are in. Children might also enjoy using crayons to draw people inside the school bus windows.
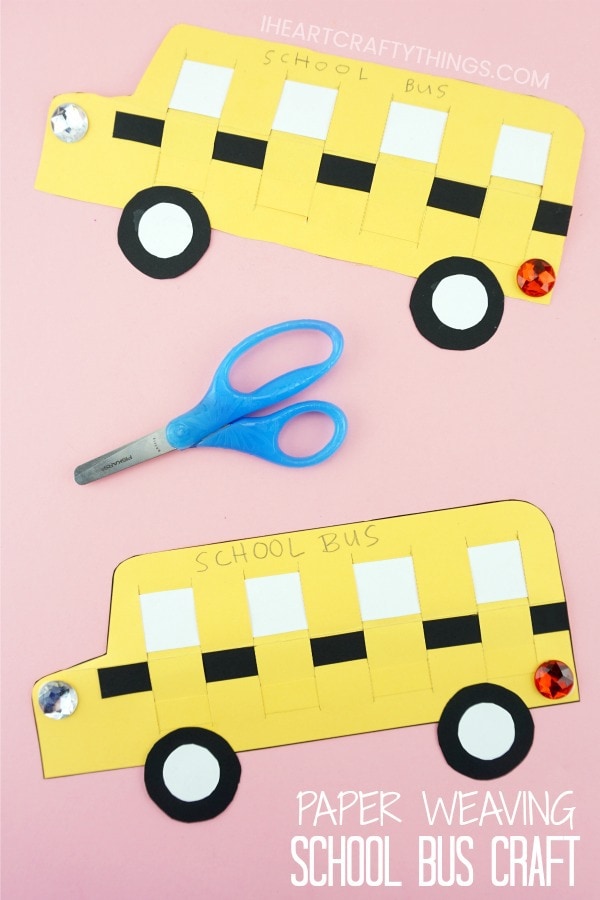
This fun paper weaving school bus craft would look perfect on display at home or on a classroom bulletin board.