{This post contains affiliate links for your convenience. Read our Disclosure Policy for more information.}
Supplies needed:
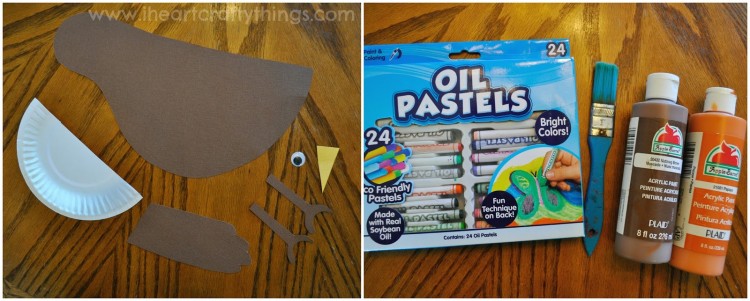
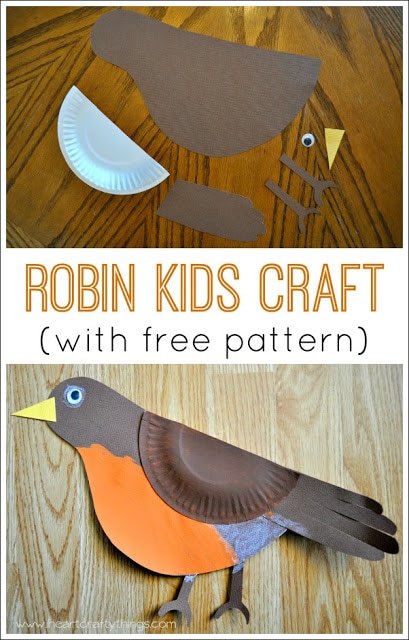
Robin Body Pattern printed out that I have provided for you 2 sheets Brown Cardstock Paper 1 small dessert size paper plate cut in half medium size wiggly eye brown, yellow and orange paint paint brush white crayon scissors glue
Tutorial:
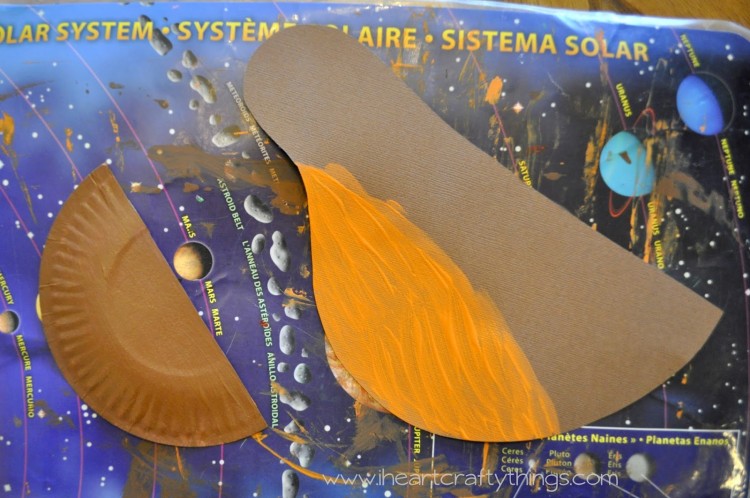
1. Cut & paint body pattern
Trace the Robin Body Pattern on a sheet of brown cardstock paper and cut it out. Paint the belly section of the Robin body with orange paint.
2. Paint plate
Paint the half of the small paper plate with brown paint. Let both pieces dry completely.
3. Trace & cut out hand shape
Trace your child’s hand on the second sheet of brown cardstock paper with fingers closed. Cut the hand out. You will not need the thumb part of the hand so cut it off of the paper hand print all the way down. This will be the tail feathers of the Robin. Cut slits where the four fingers would be to create four different feathers.
4. Now cut out feet
Cut out 2 feet from the brown cardstock paper as well.
5. Make a beak
Cut out a small triangle shaped beak out of yellow cardstock paper.
6. Glue all pieces together
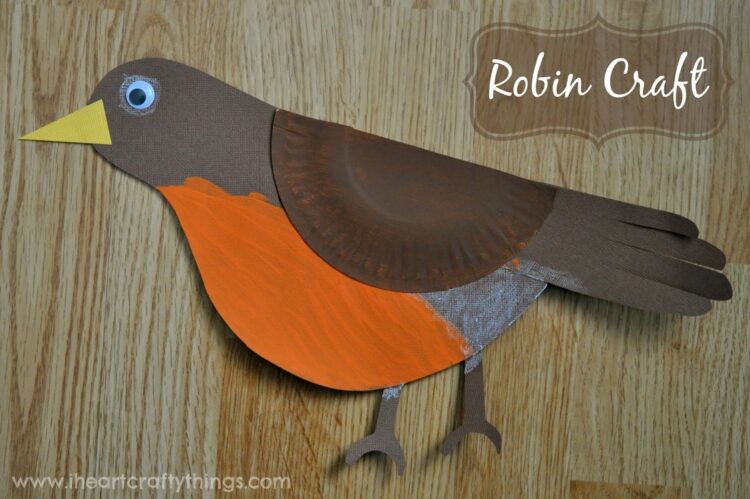
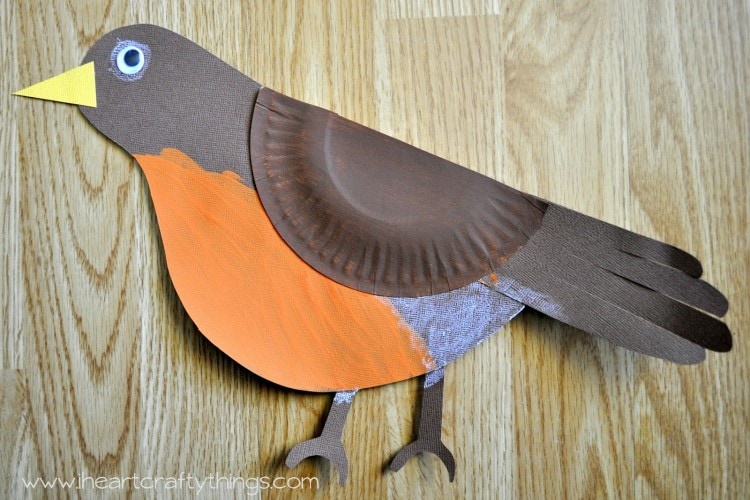
When the paint is dry, glue the tail feathers at the bottom of the bird body. Next glue the paper plate wing onto the body. Continue by gluing on the feet, beak and wiggly eye.
7. Color white feathers
Use the white oil pastel to color white feathers under the wing, around the eye and in the neck area if you desire.