Then we set off to create our own Chameleon picture. I was lucky enough to see this great idea my bestfriends page. We each chose what color we would be if we were a Chameleon and figured out what object we would have to stand on in order to be that color.
Supplies needed:
white card stock paper crayons chameleon image (I found several by doing an image search on Google for chameleon clip art on google) scissors glue stick black marker
Tutorial:
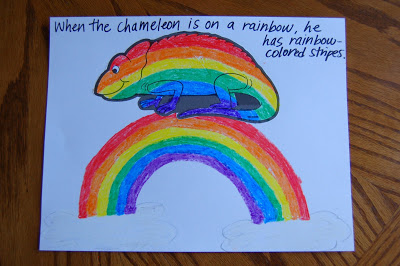
1. Draw a rainbow
Draw and color a picture on your white card stock paper of the object the Chameleon will have to stand on in order to change colors.
2. Cut & glue chameleon image
Cut out your Chameleon image and glue it to the top of your object.
3. Color chameleon
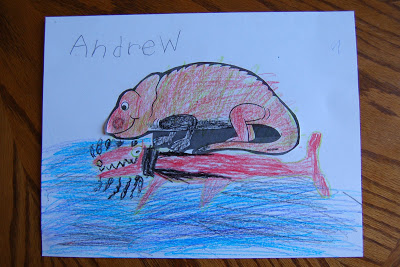
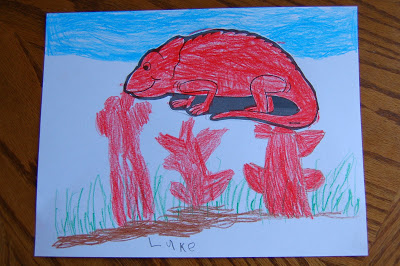
Color your Chameleon to match your object and add any finishing touches. My oldest son put his Chameleon on top of a catfish so he added water to his picture and my youngest son put his Chameleon on top of red flowers so he added sky to his picture above the Chameleon.
4.
Either on the front or back of the picture (I did it on the front of my picture, but my kids requested the back) write: “If a Chameleon was on a _________, it would be ___________.” You fill in the blanks according to your child’s picture. I made sure to have them tell me about their picture so they were telling me what color to write down to fill in the blank. It’s that simple!