Supplies needed:
dark blue, blue, orange and black cardstock small dessert size paper plates star stickers white feathers tacky glue scissors glue stick
Instructions:
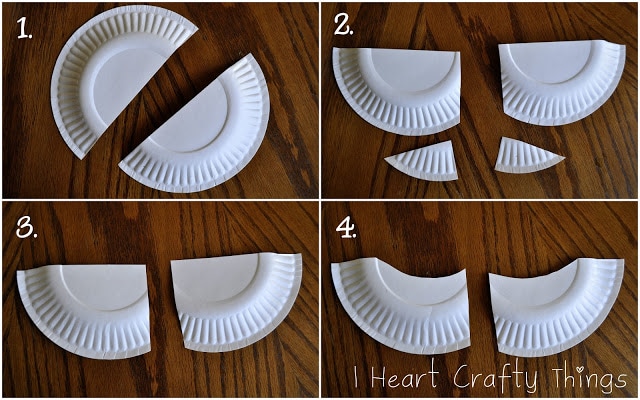
1. Make the wings
Begin by cutting out the wings for your paper plate owl craft. See the picture below for a reference. Start by cutting one of your small paper plates in half. Then cut a small section off each wing. To finish the wings, cut a curve at the top of each wing out of the paper plate.
2. Glue plate to the cardstock
Add glue around the outside rim of another small paper plate and glue it onto the center of your dark blue or black cardstock paper.
3. Glue on wings
Now add some glue around the edges of the owl wings and glue them on your paper, slipping them underneath the body of the owl.
4. Cut out face shapes
Cut out oval eyes from your blue cardstock or construction paper, black pupils and an orange owl beak. Glue them onto your owl craft.
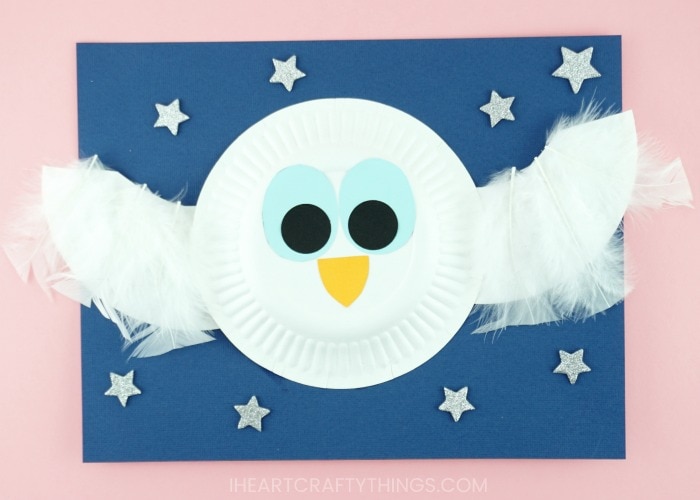
5. Add feathers to the wings
Squeeze a line or two of glue on the wings of the owl. Then place white feathers along the glue on the wings.
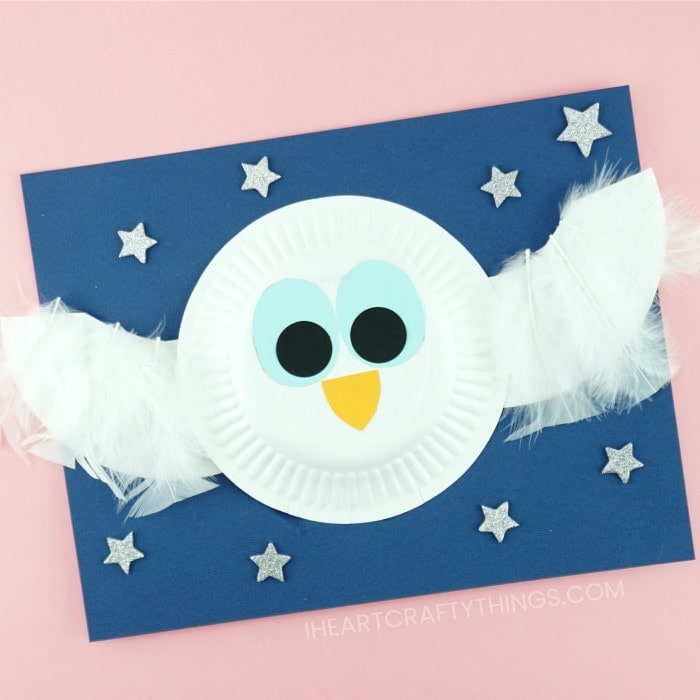
6. Decorate with star stickers
Finish your Little White Owl craft by adding star stickers around your paper. The dark colored background and stars make your cute owl look like he is in flight on a clear night sky.