This post contains affiliate links for your convenience. Read our Disclosure Policy for more information.
Supplies you will need:
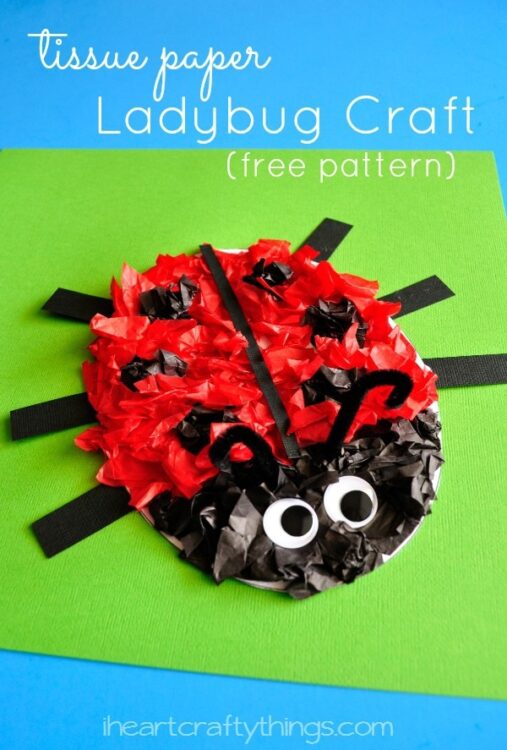
Tissue Paper Ladybug Pattern black and red tissue paper black cardstock paper black pipe cleaner googly eyes scissors tape school glue
Directions:
3. Cut out tissue paper squares and glue them onto ladybug
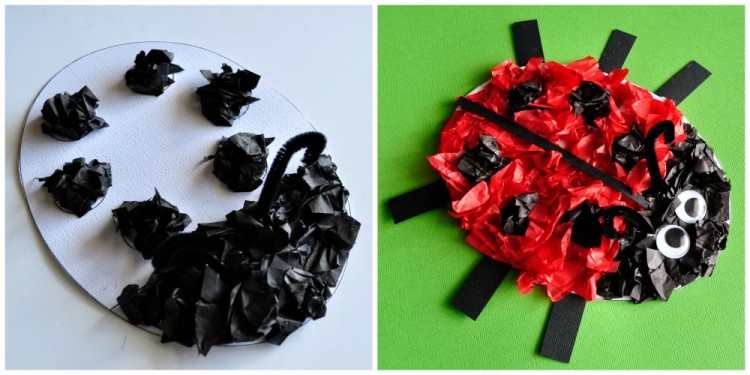
Cut out some black and red squares from your tissue paper. Start by adding school glue to the spots on the body and adding crumbled tissue paper to them. Continue by adding glue and tissue paper to the face of the ladybug.
2. Make antennae
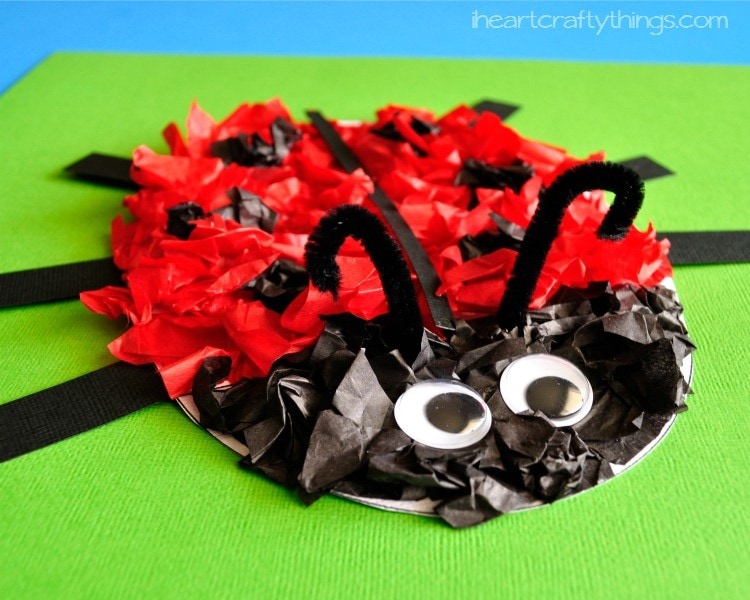
Cut your black pipe cleaner in half, curl the ends to make antennae and tape it to the face of your ladybug. (see picture below) Now add school glue all over the body of the ladybug and finish covering it with crumpled red tissue paper.
4. Make six legs
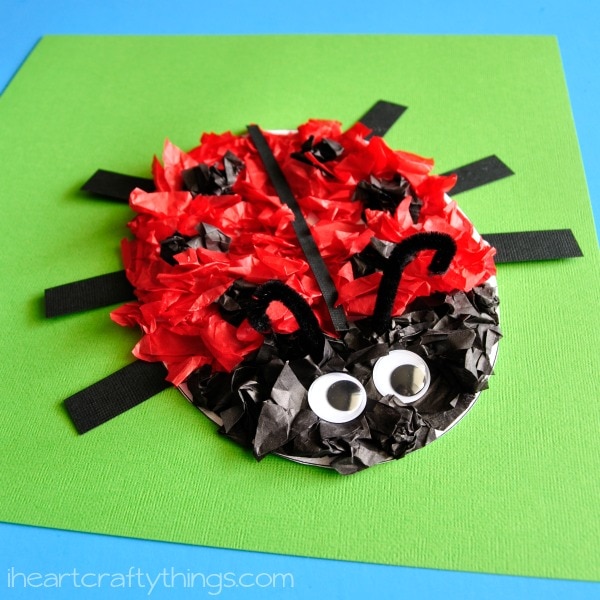
Cut six legs out of your black cardstock paper and glue them to the bottom of your ladybug. Also, cut out a small strip of black paper to divide the wings and glue it down the middle of the body.
5. Glue googly eyes
Finish your ladybug by gluing on some large googly eyes at the front of his face. Those antennae poking up make him especially cute! Have you made a ladybug craft yet this Spring?